In 2021, I had the opportunity to make a physical project during the TOCS (an IoT-focused “competition”). The TOCS is an open-to-all competition by https://www.telecom-valley.fr/. It also allows you to discover the maker world with the “SoFAB” (https://www.sofab.tv/) - a fablab in Sophia Antipolis. For this competition, I decided to make a portable computer with a Raspberry Pi 4. The idea was to have a small computer that could be used to program and test code on the go. This is frequently referred to as a cyberdeck.
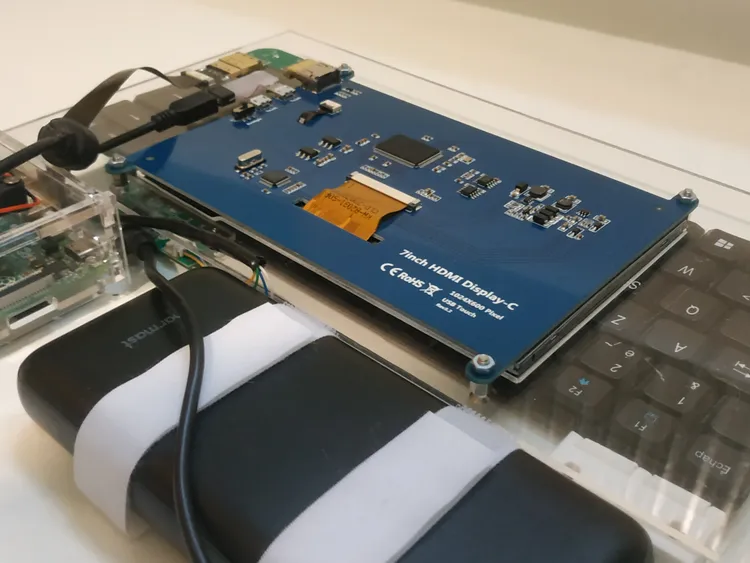
This project had two versions so far. The first one was made for the TOCS, the second one was the updated version of the first one. The second version was made to be more portable and more simple
This project is linked to a github repository: https://github.com/Its-Just-Nans/cyberdeck. 1 This project is also inspired by many cyberdeck projects on the internet, some inspirations pics are available in the repo.
First version
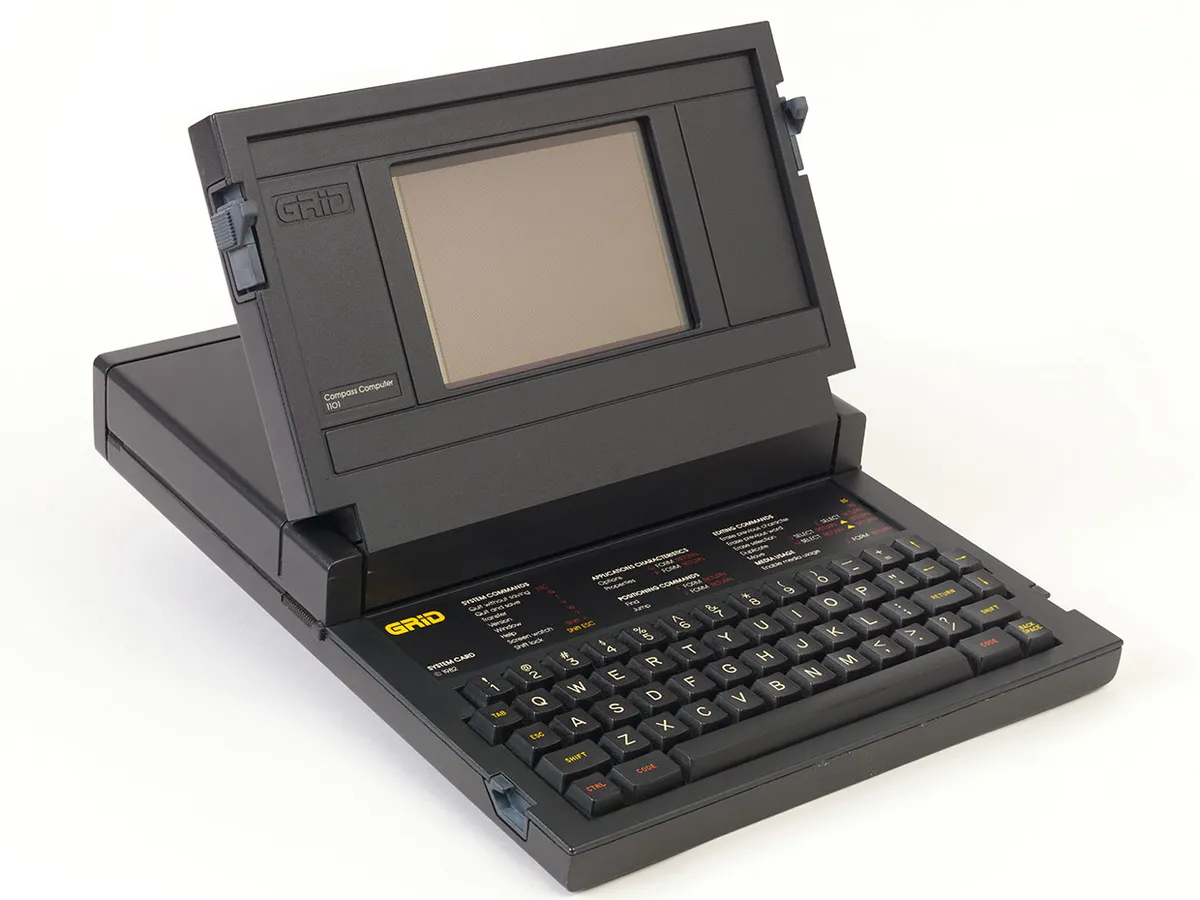
The first version was made with a 7-inch screen, a Raspberry Pi 4 and a power bank to power all the components. The major difficulty was to create the case that would hold all the components. I used plexiglass to make a complete case - like the old GRID compass computer (1982) but transparent.
Inspiration pic: GRID compass computer (1982)
The case was made in laser-cut plexiglass, plans were made as svg files, then uploaded to the cutting machine with a USB stick.
Unfortunately, I didn’t have time to have a clean design. Glue was used to attach plexiglass sheets together. The screen was screwed directly into the case.
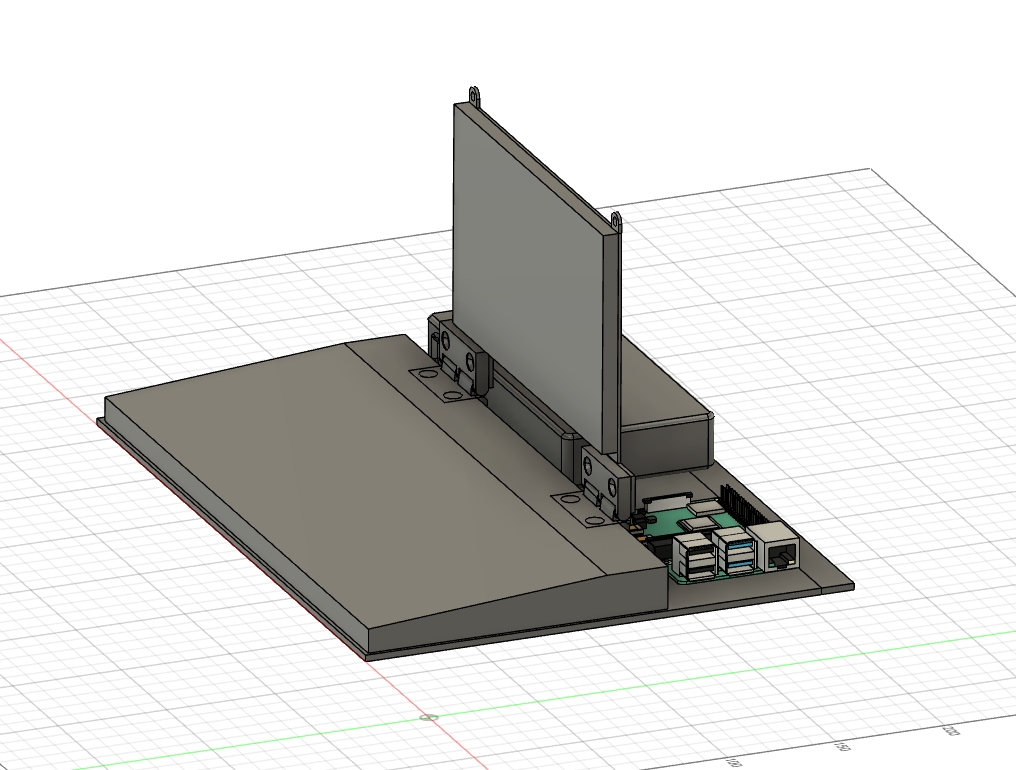
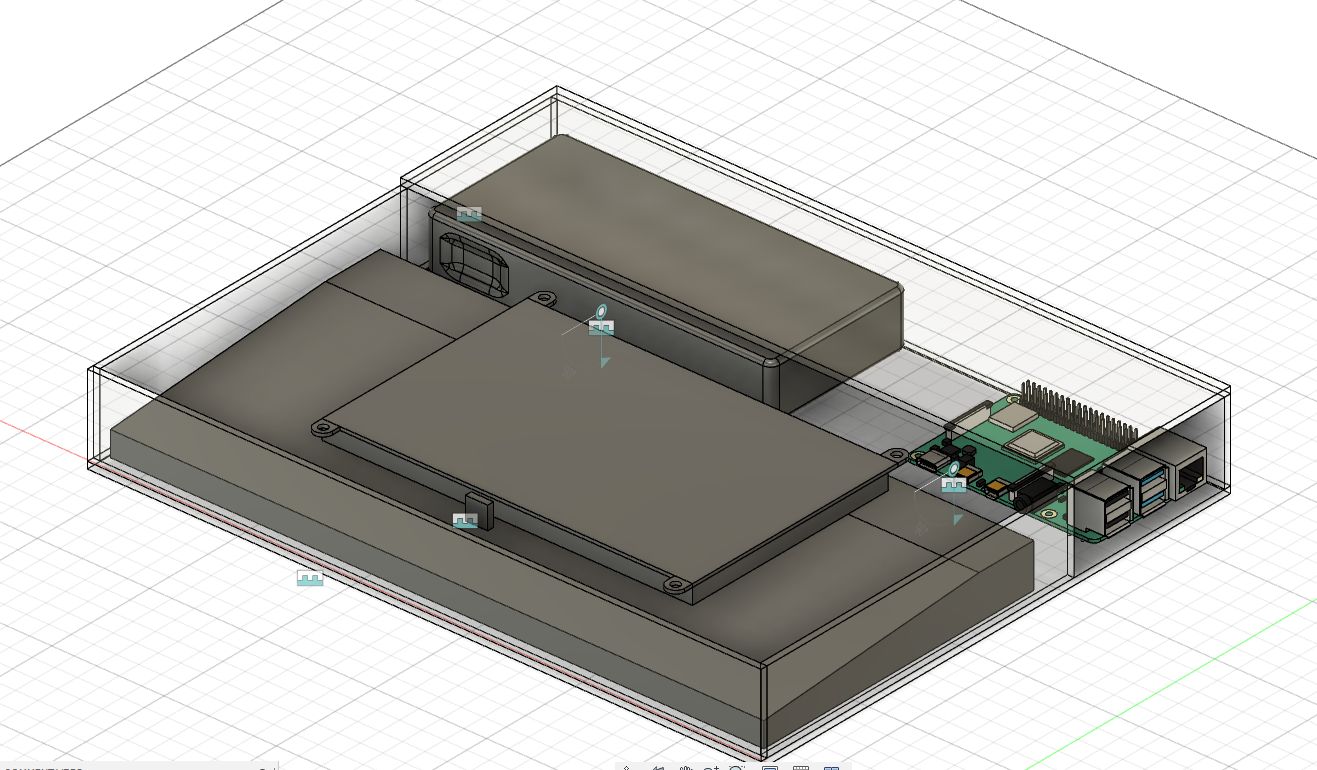
Modelisations on Fusion360
My project was ready for the TOCS, the demo was made with a simple http server on the raspberry pi. The project was well received by the jury and I received the jury’s special prize.
After the TOCS, the glue used for the plexiglass sheets was not strong enough. The case was no longer robust enough. The cyberdeck was put aside for a while.
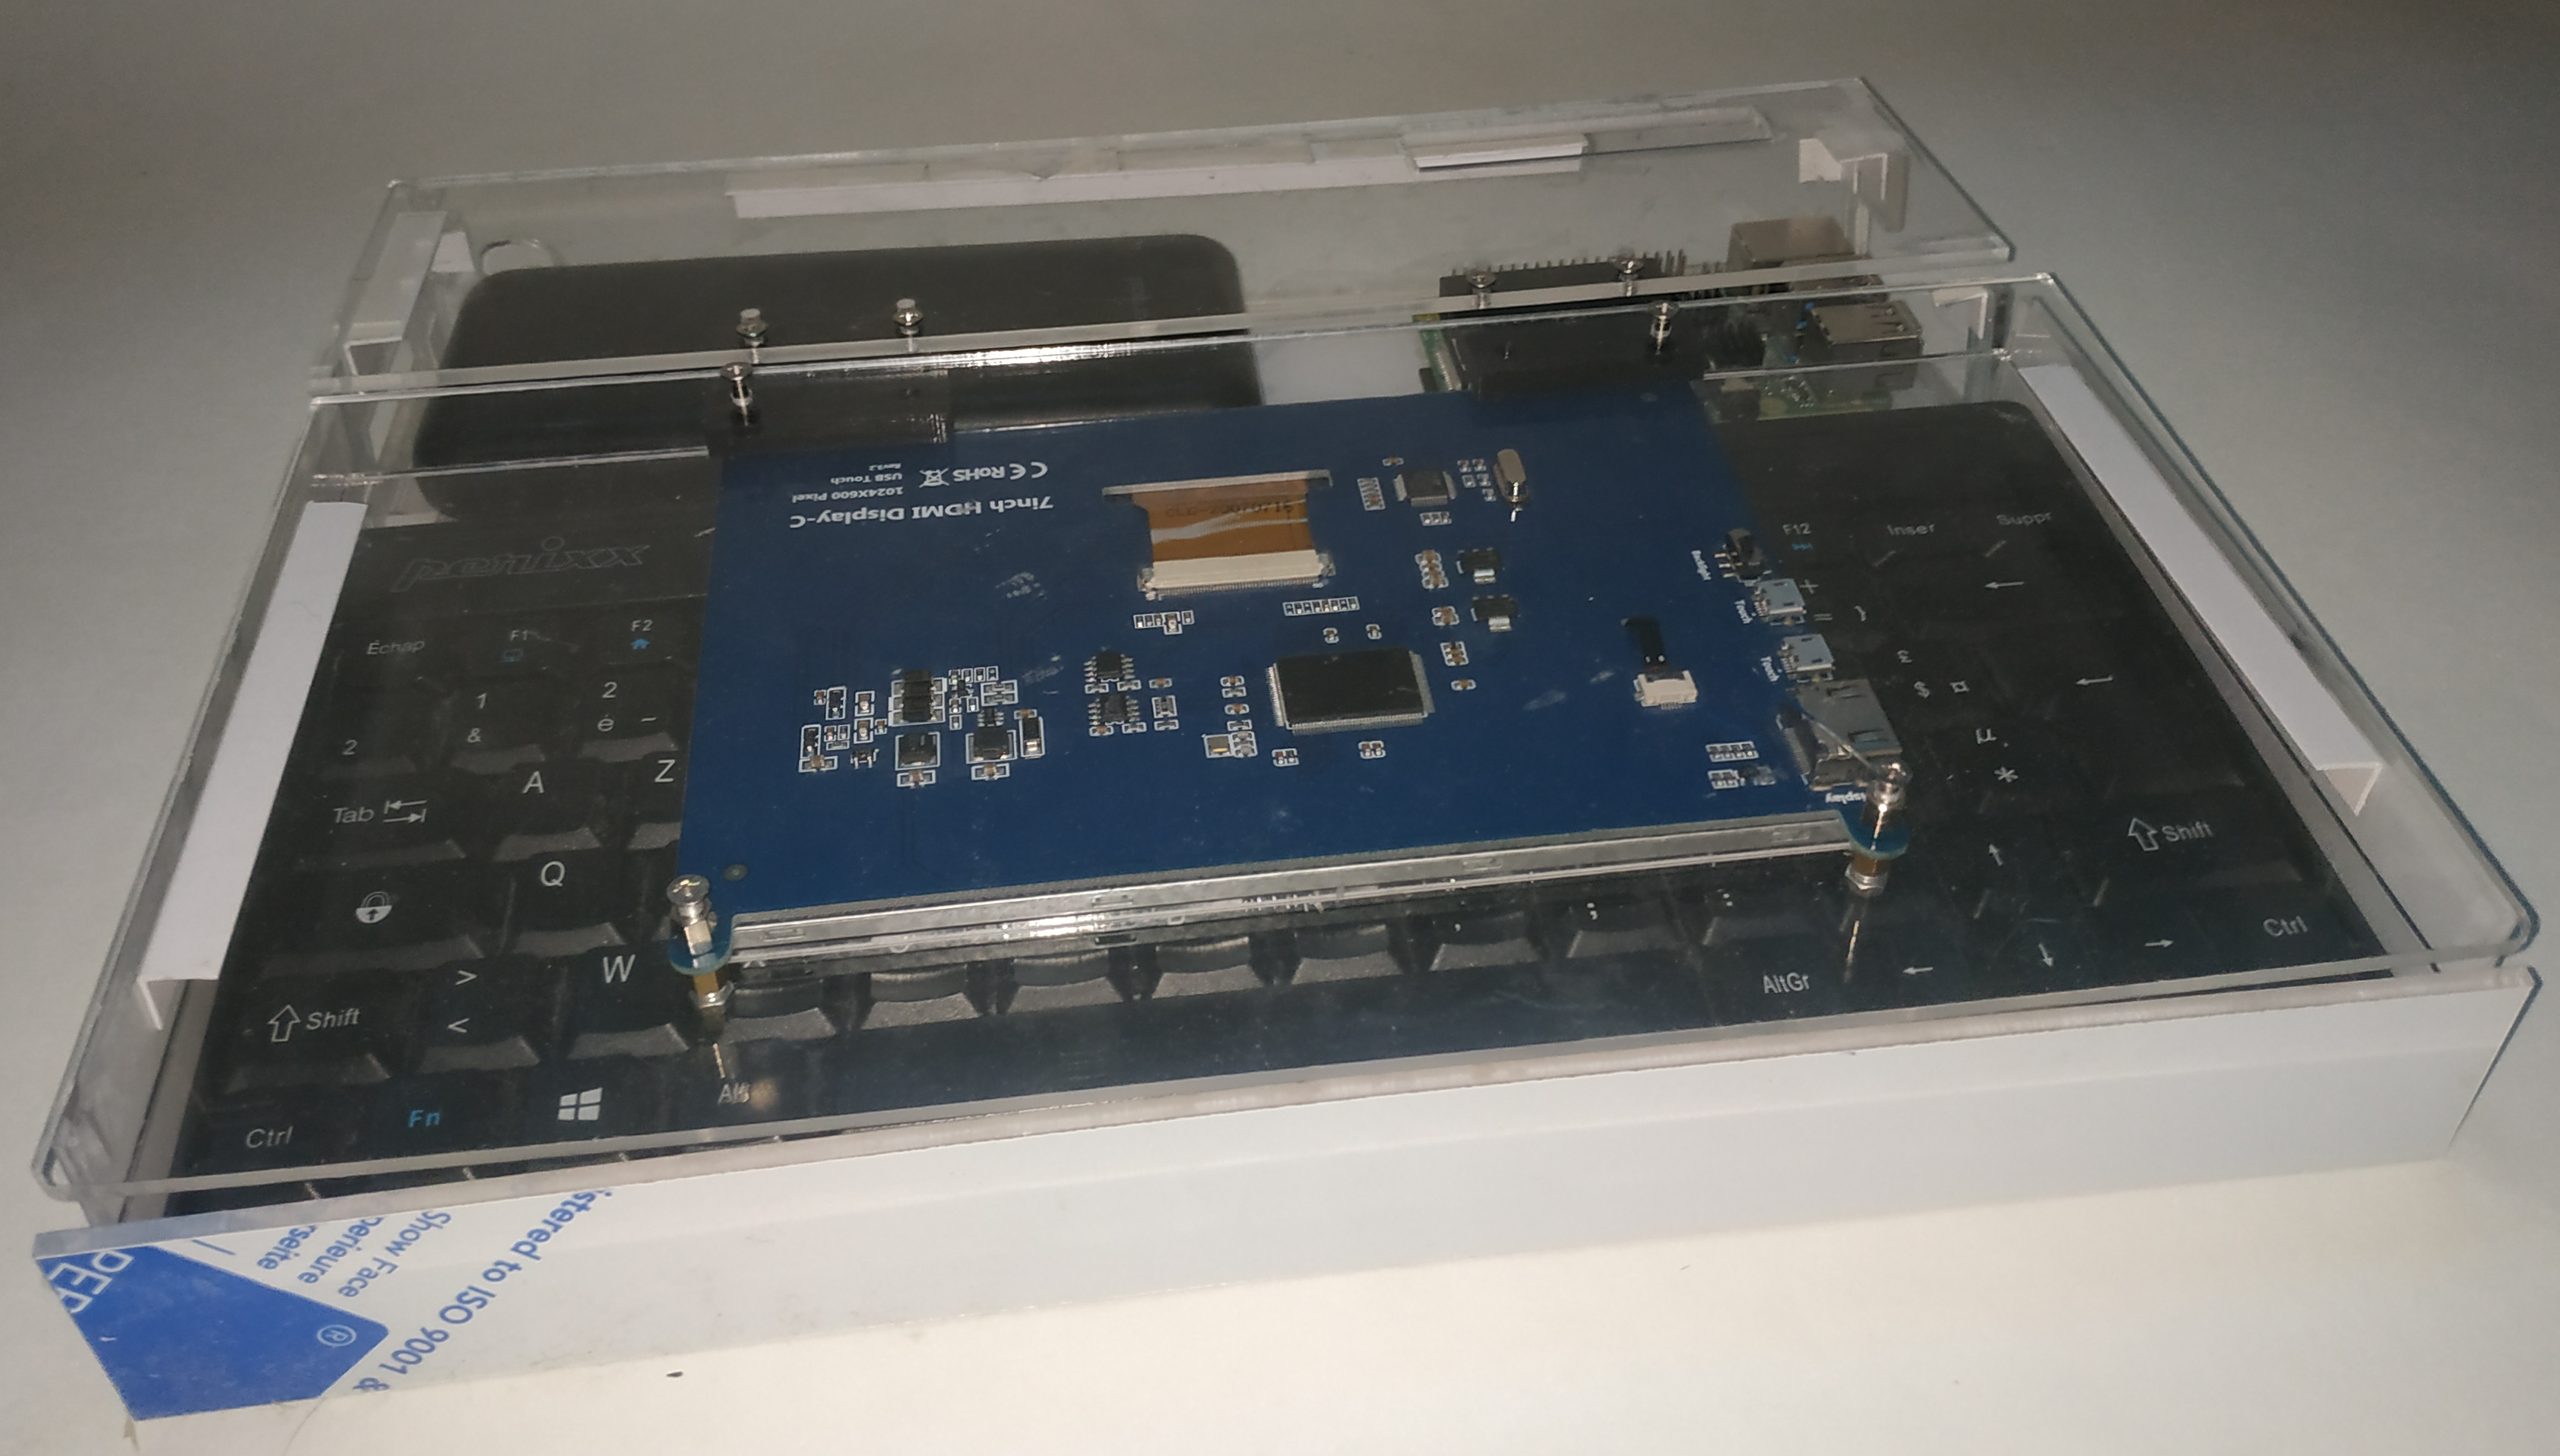
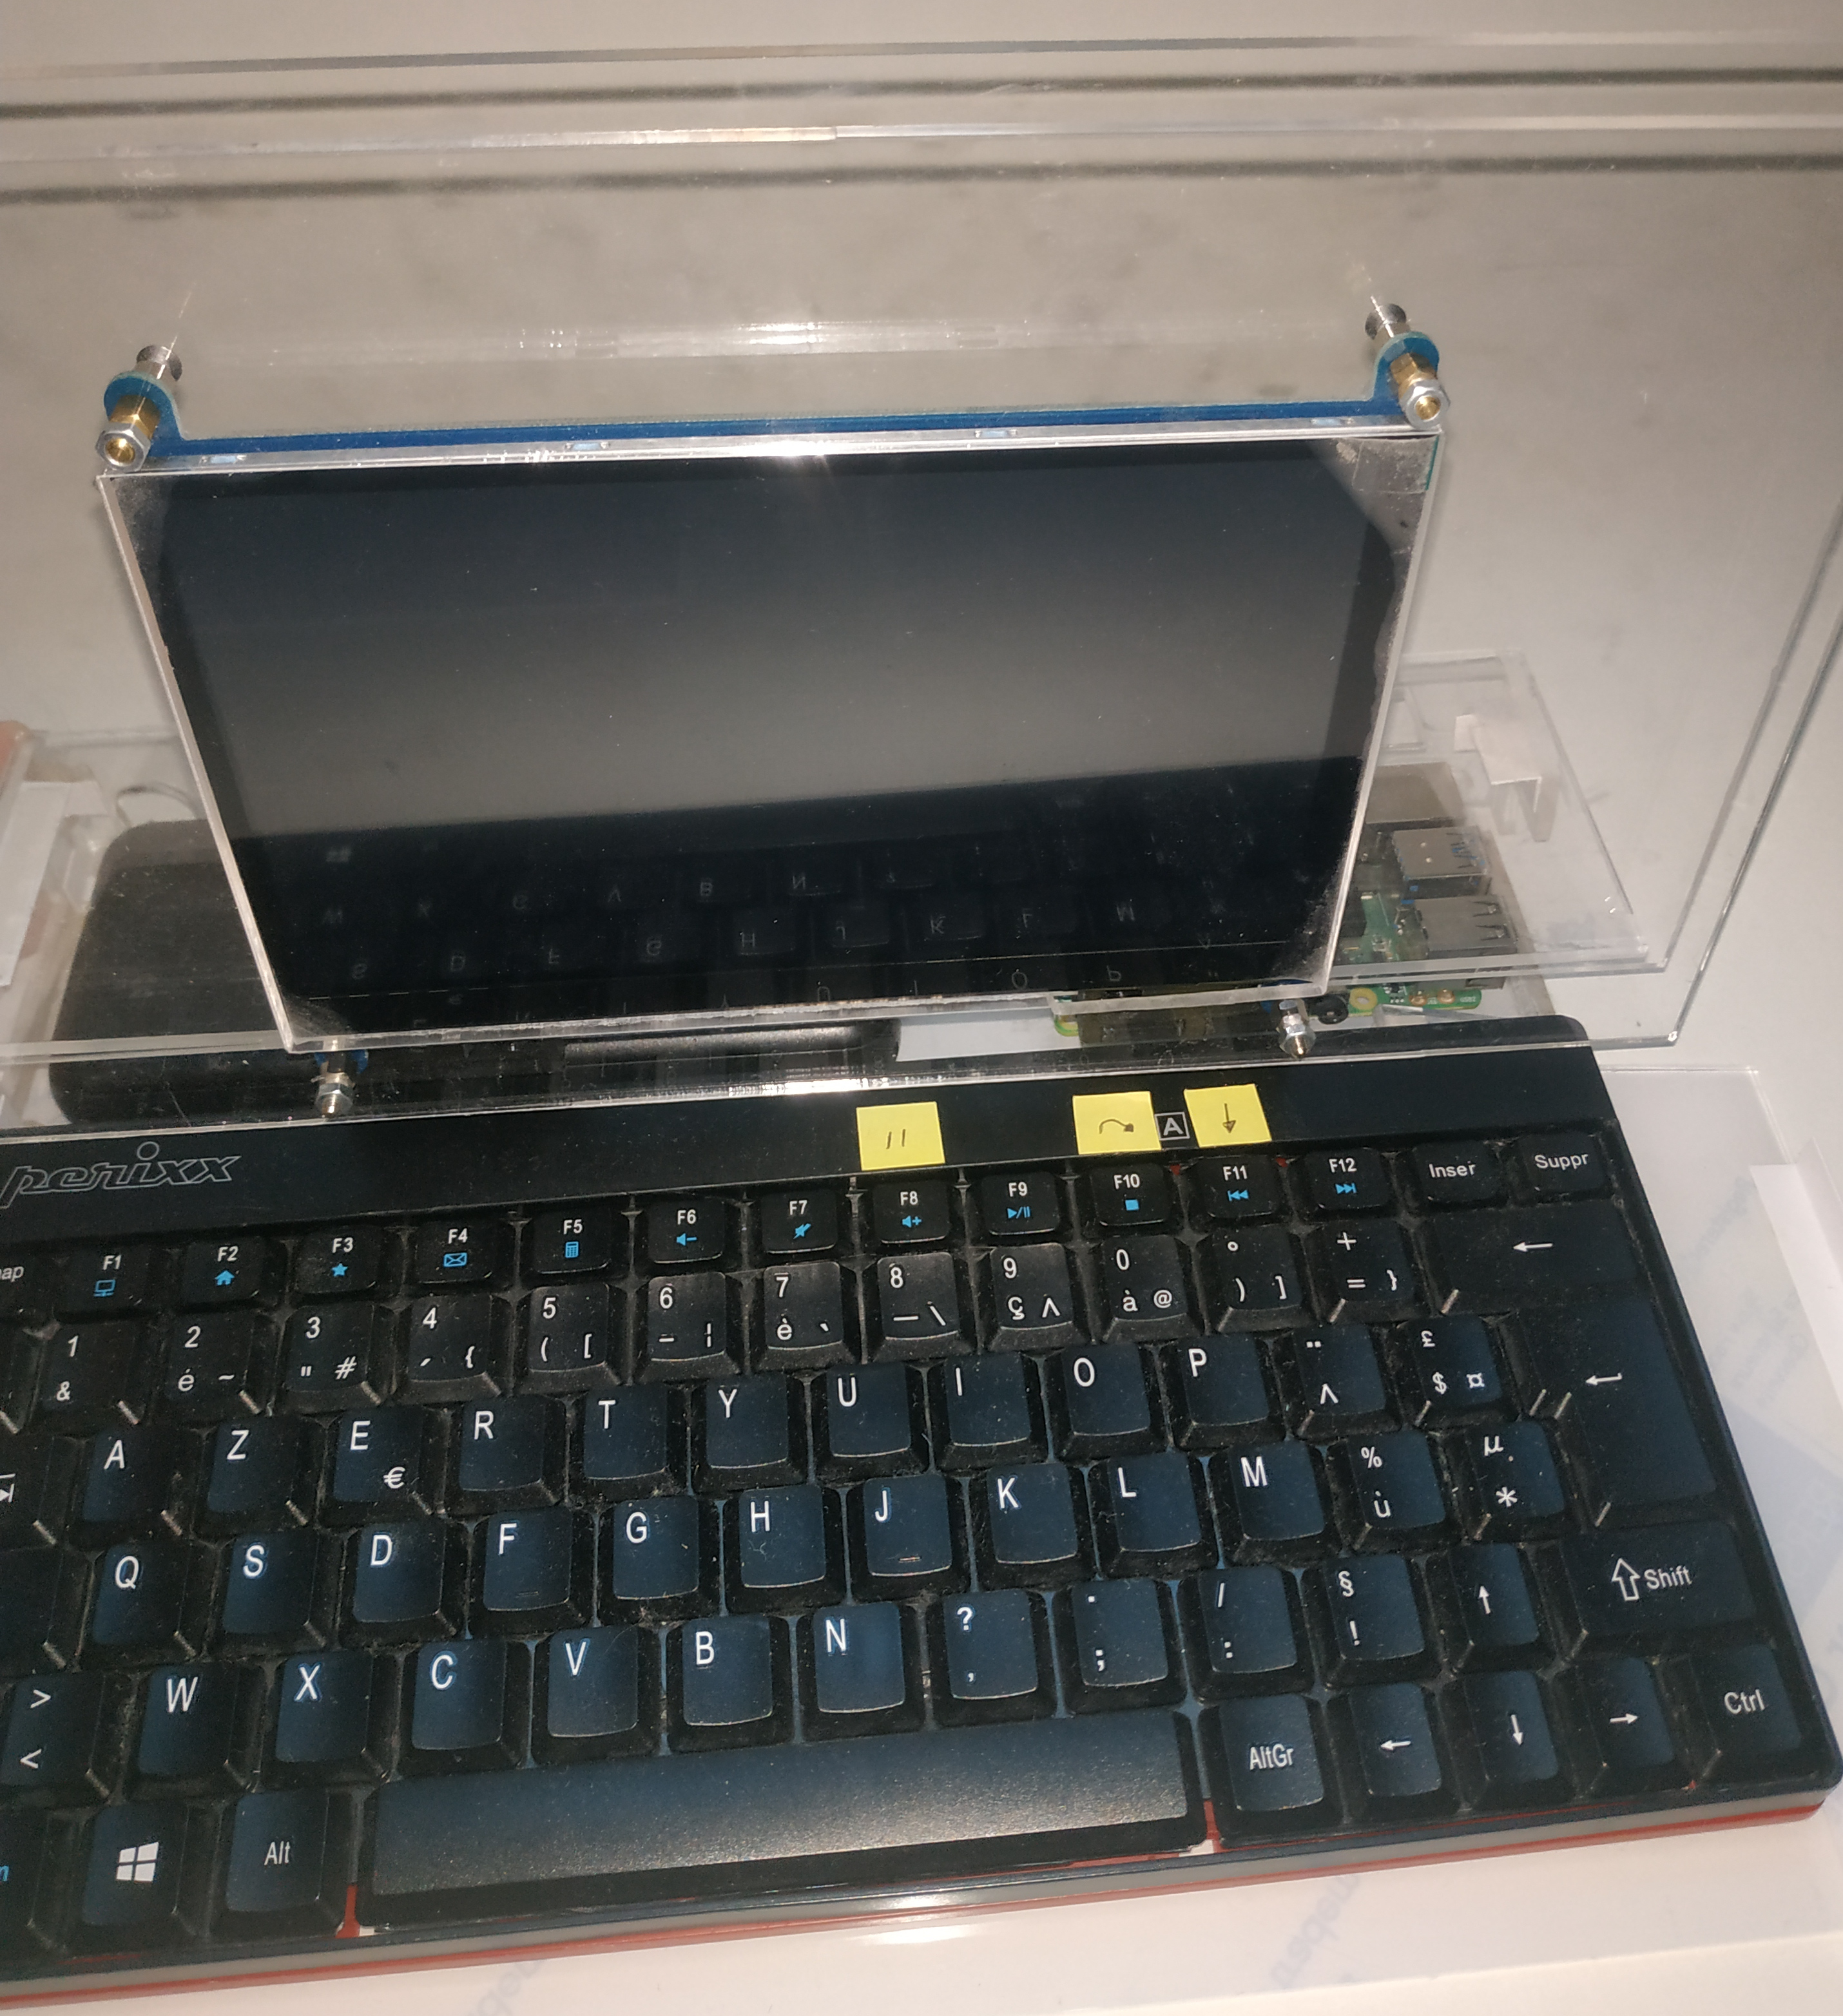
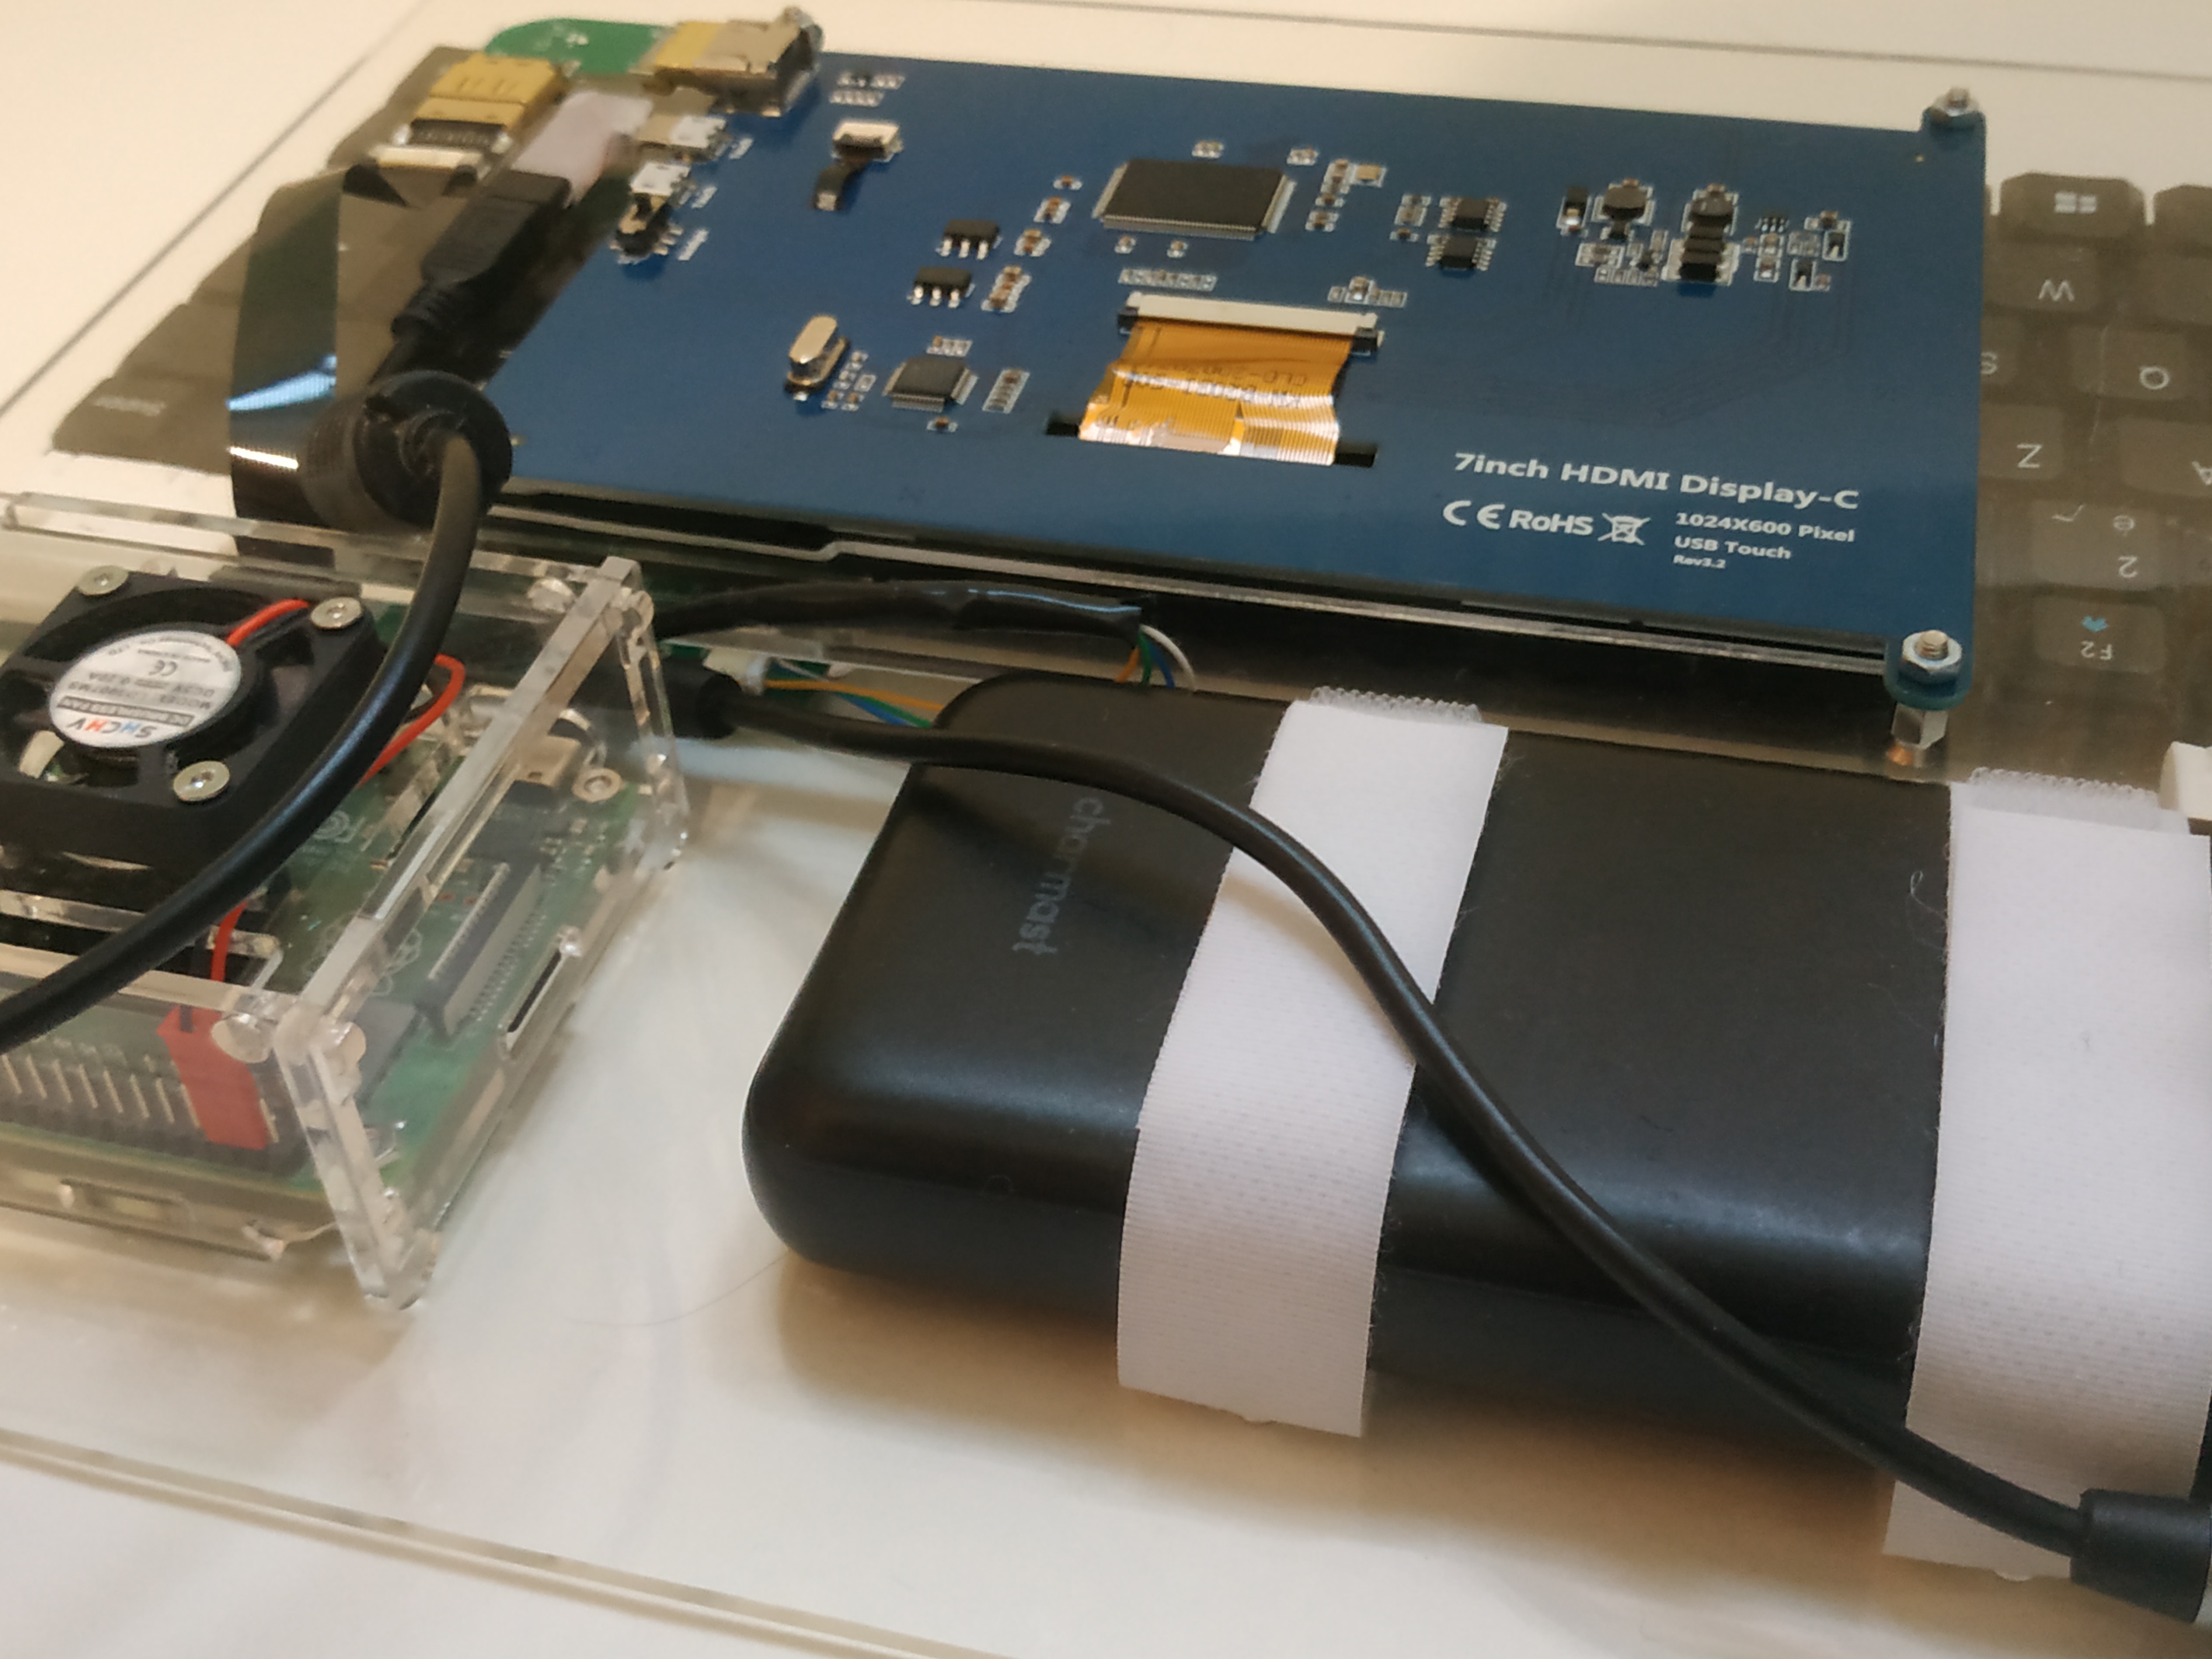
Some pictures (after the TOCS - not glued) to have an idea
Components
| Components |
|---|
| 7 inch Raspberry Pi 4 Model B 3B LCD Display Touch Screen |
| Raspberry Pi 4B 4Go RAM + accessories |
| Perixx PERIDUO-212 - keyboard + mouse (unused) |
| Charmast Power bank 23800mAh 20 Watts |
| 90 Degree Left Mini USB to Micro USB Male |
| HDMI Cable Connector Adapter 90 Degree |
| HDMI flat cable |
One of the goals of selected components is to be small and portable. Long USB cables were avoided. Flat hinges were made and 3D-printed to attach the screen to the case (https://github.com/Its-Just-Nans/flat-hinge)
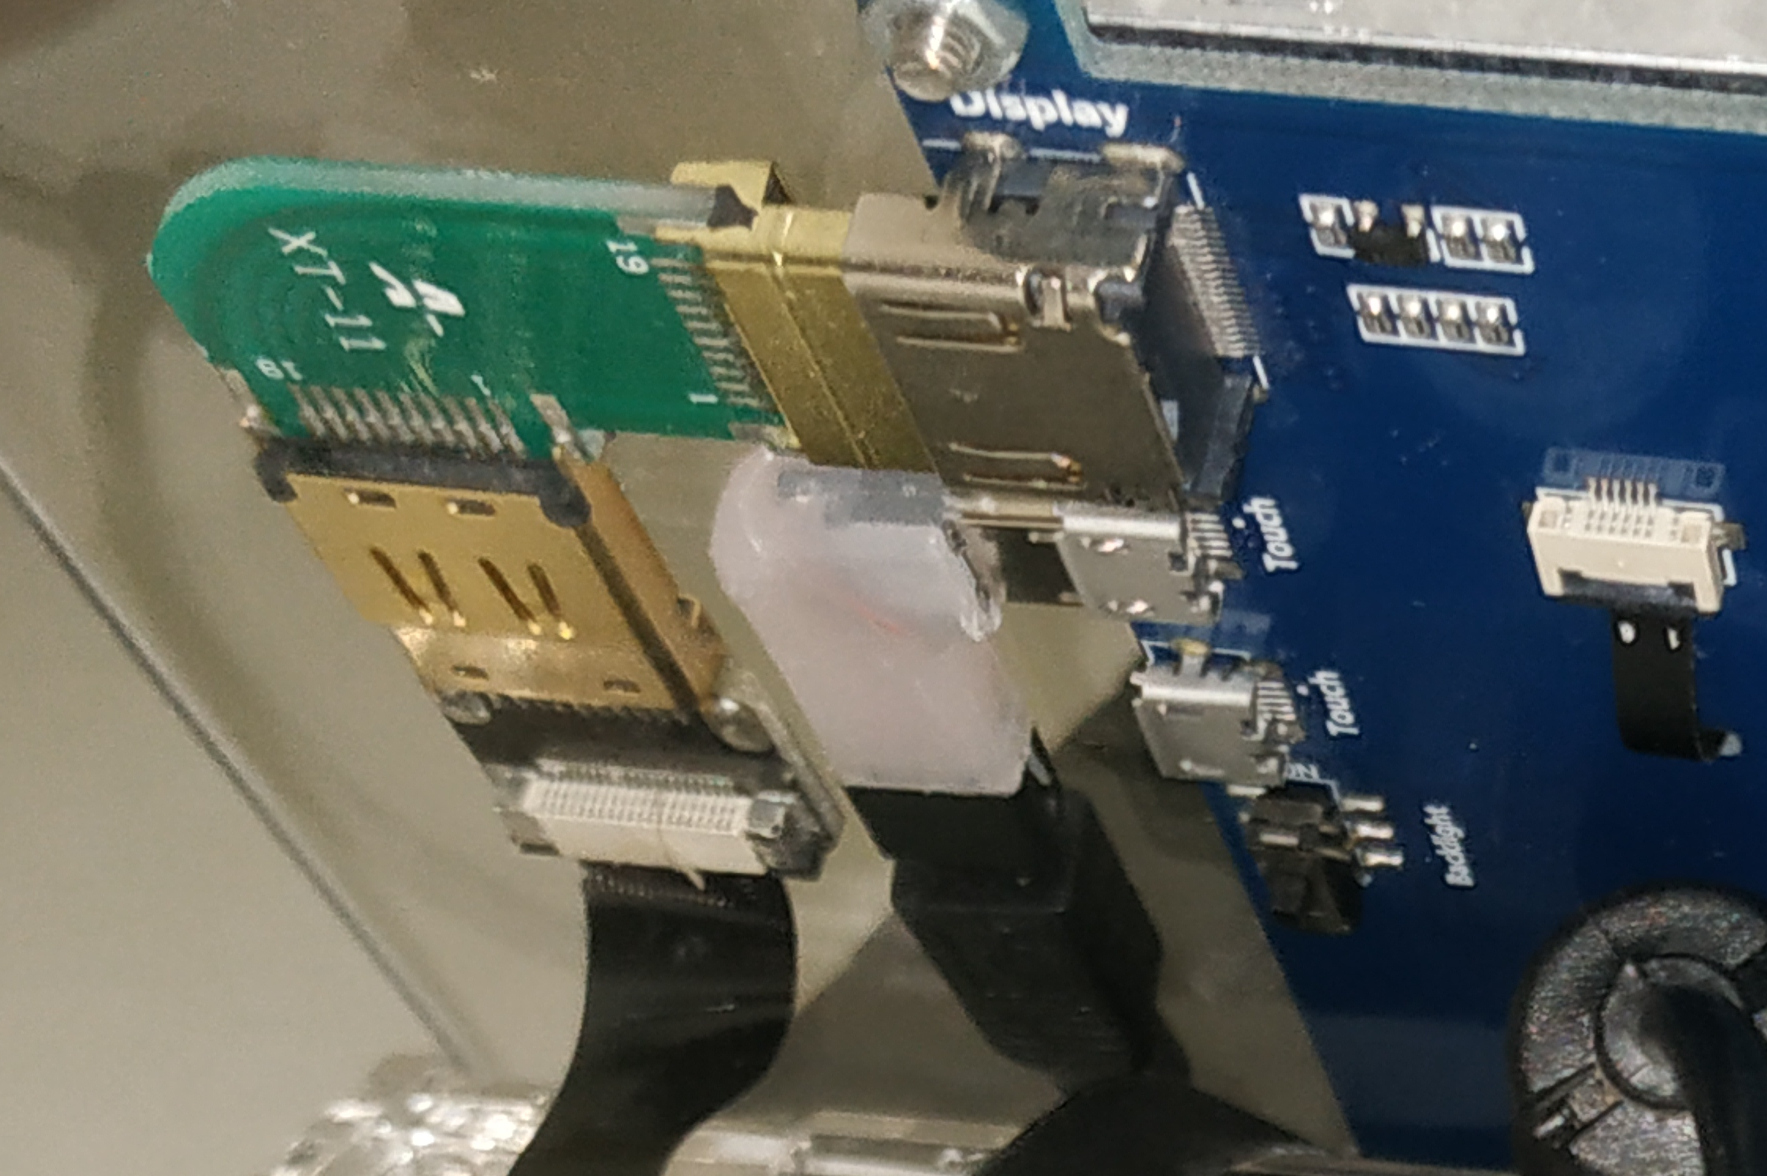
Screen connectors
Second version
The second version was developed in September 2024. The goal was to make a more portable and more simple version of the first one.
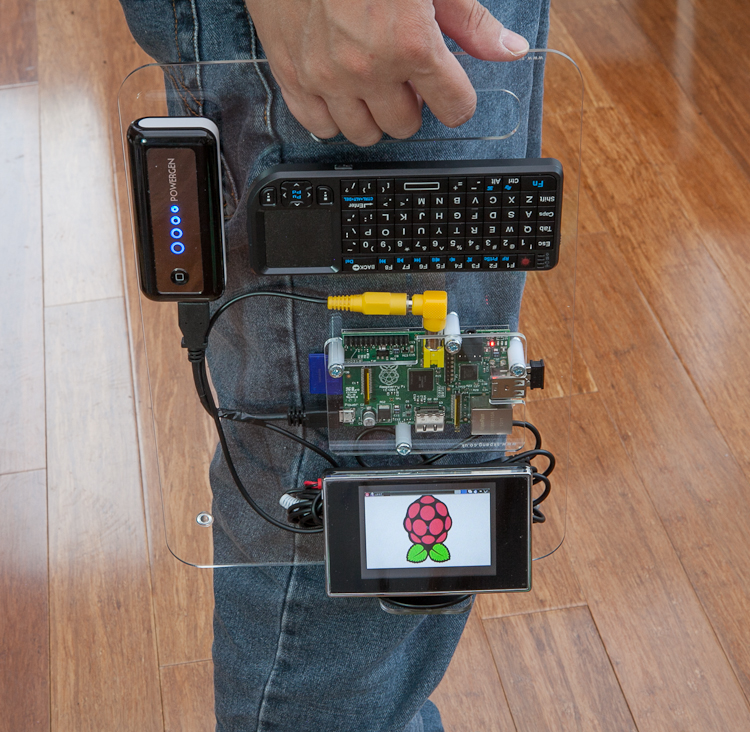
Inspiration pic: Minimalist cyberdeck
Major changes were:
- the reduction of the case
- the reduction of the keyboard
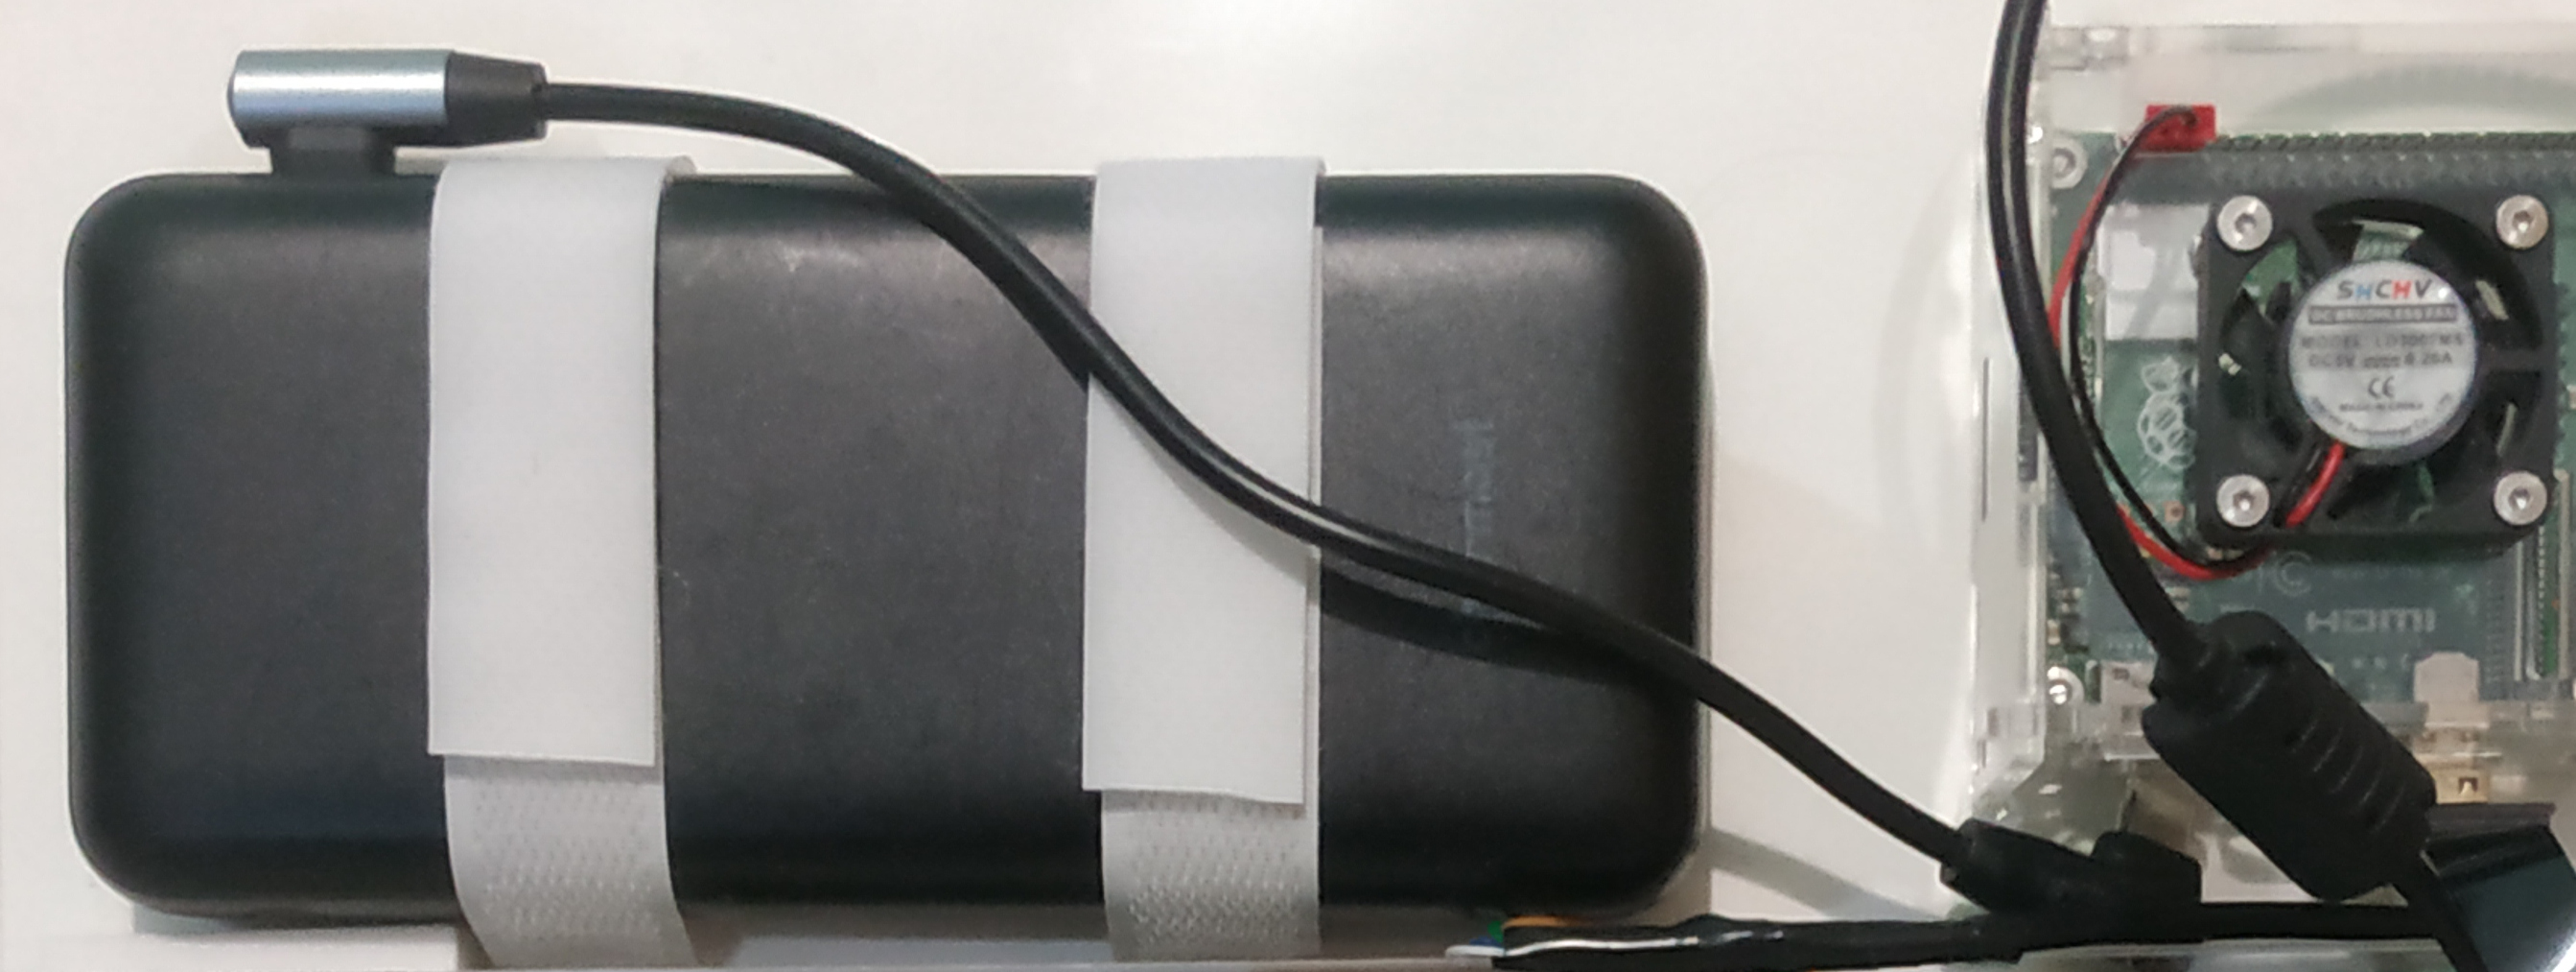
- the power bank was directly attached to the case
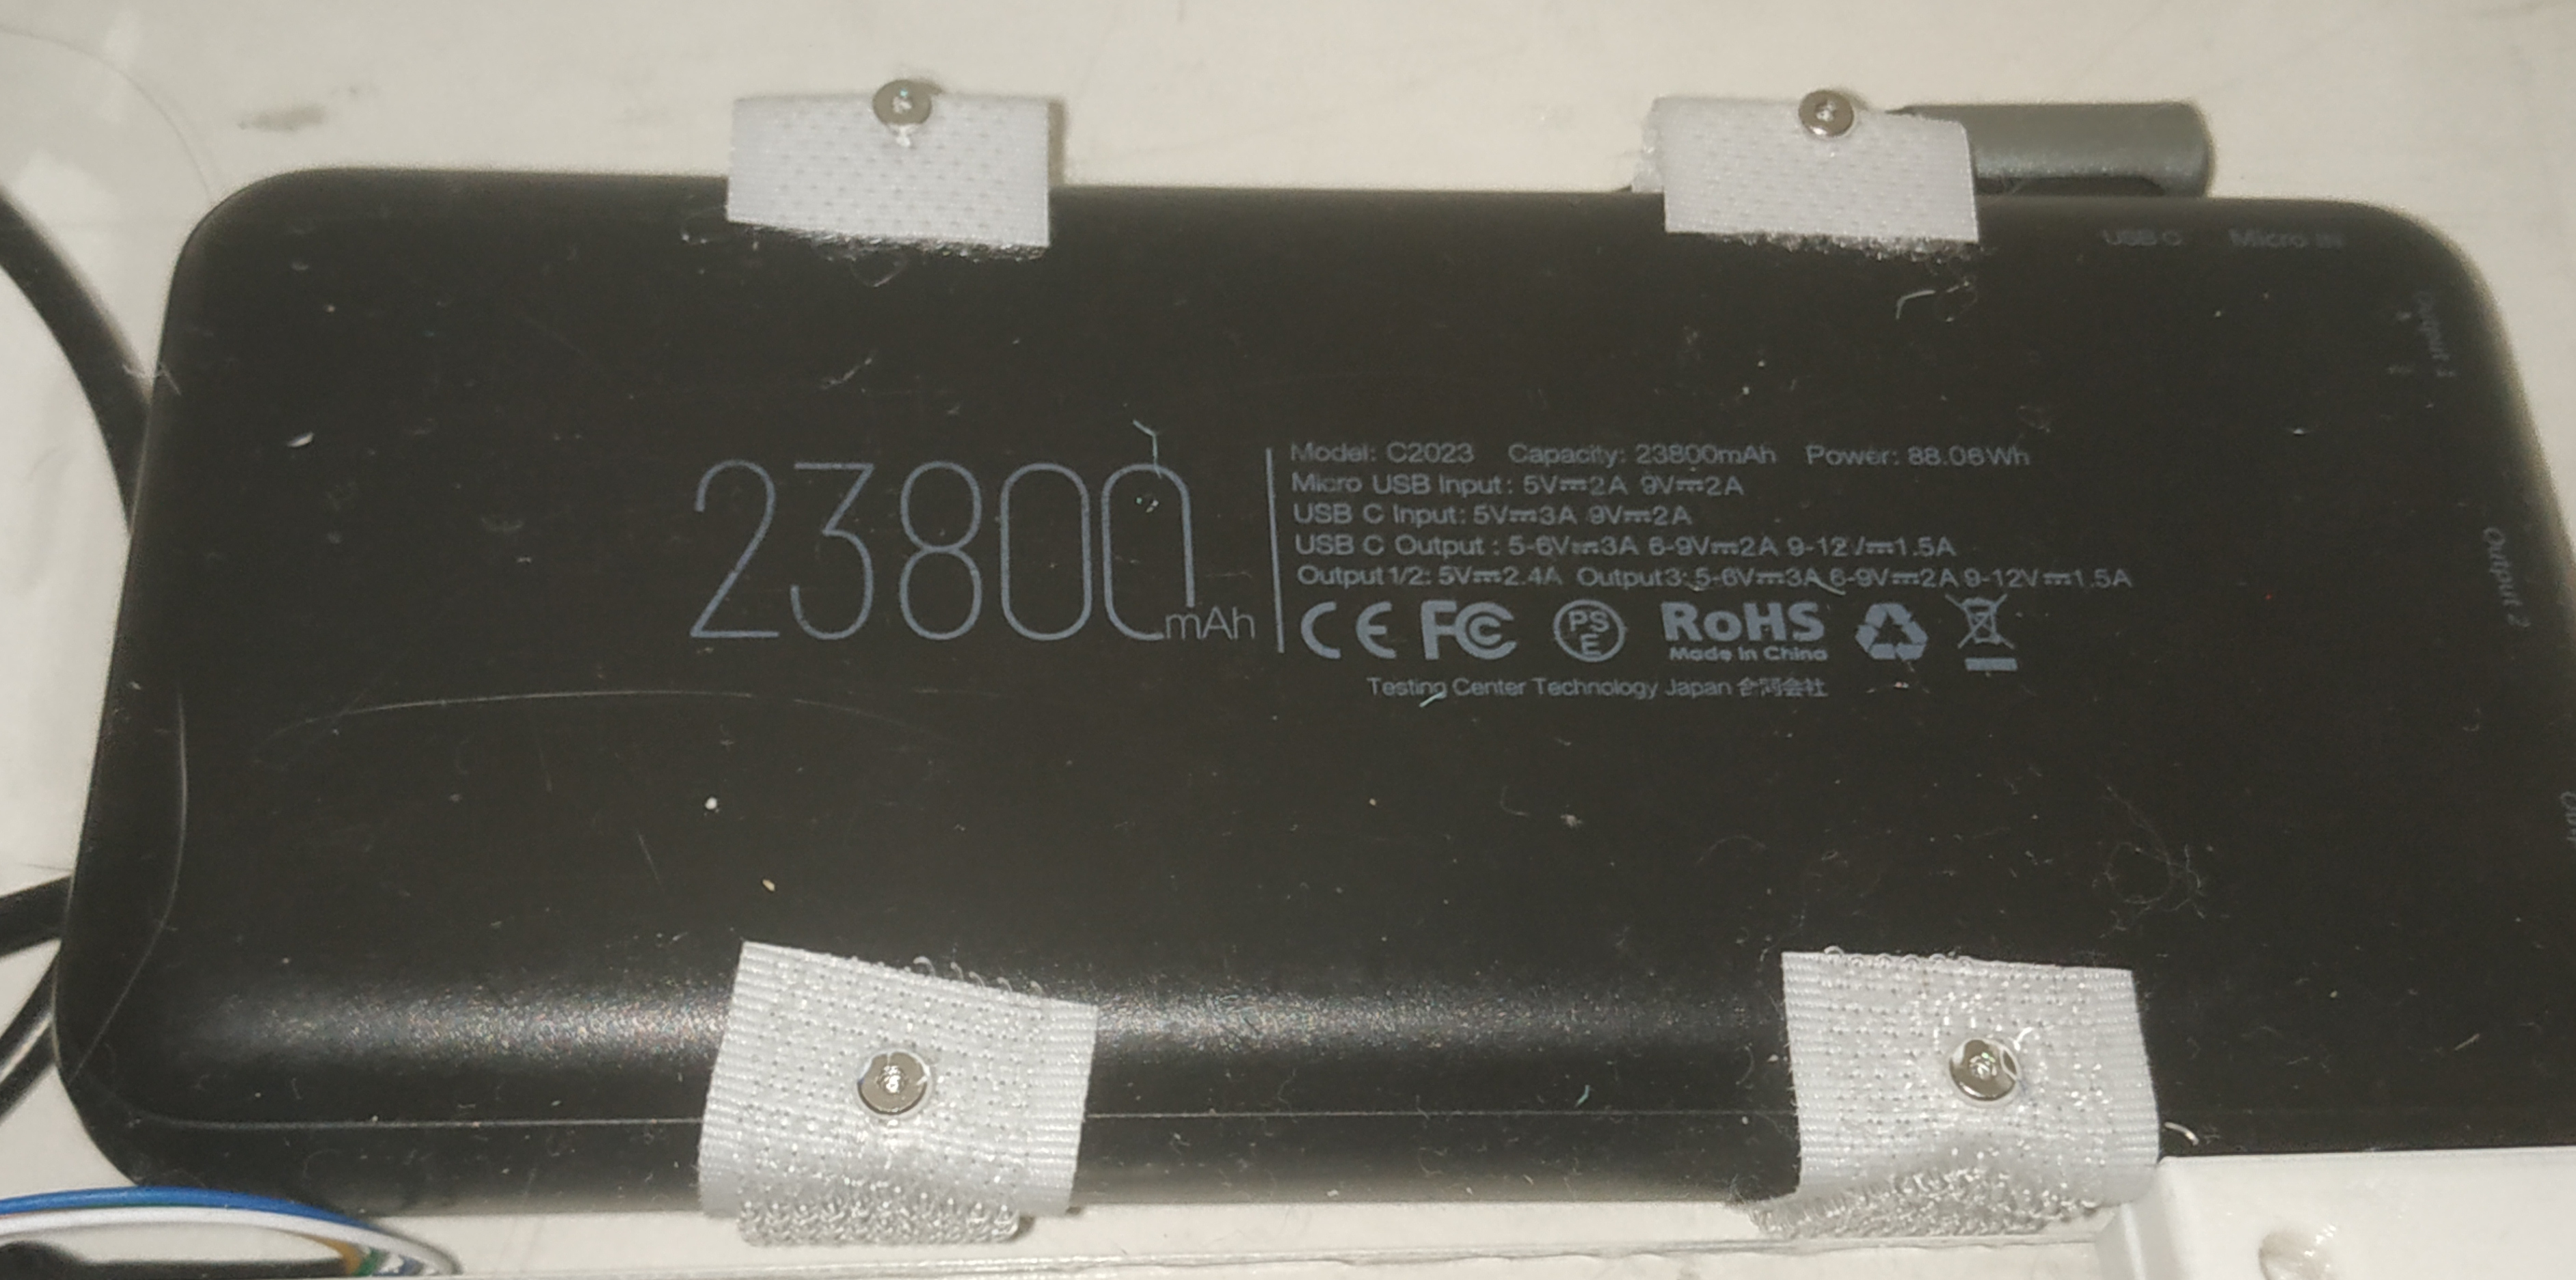
Power bank modifications
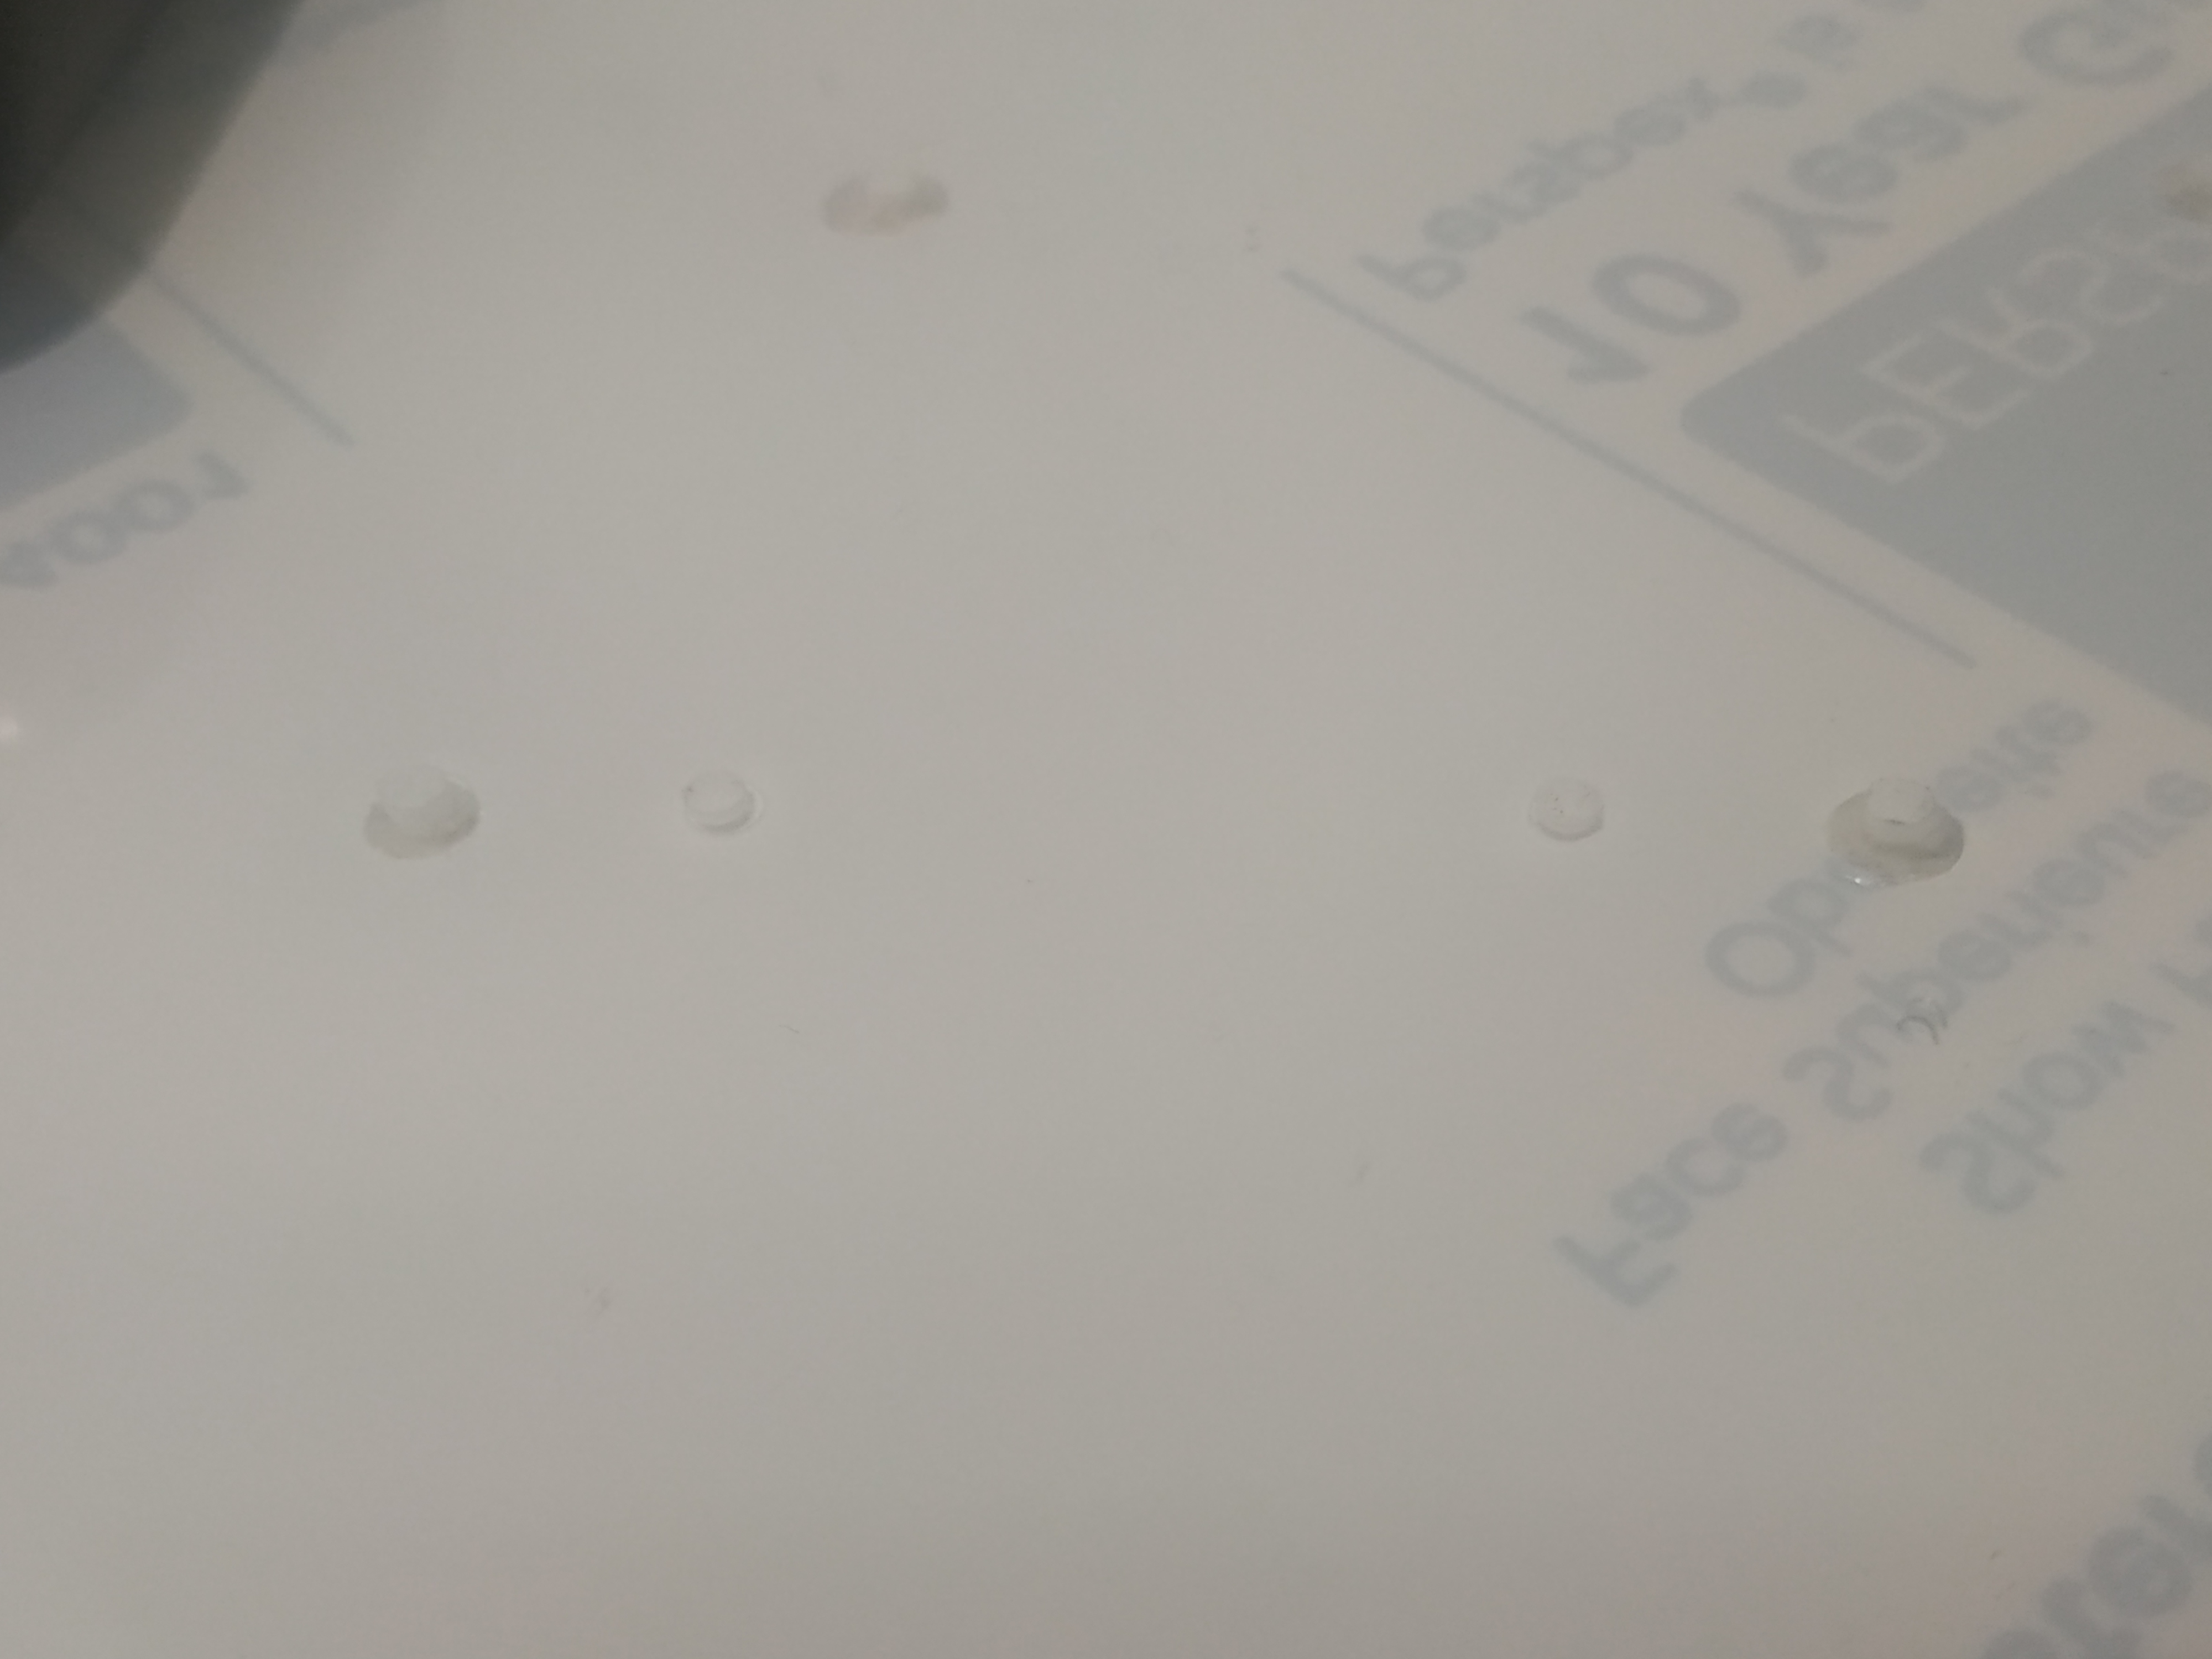
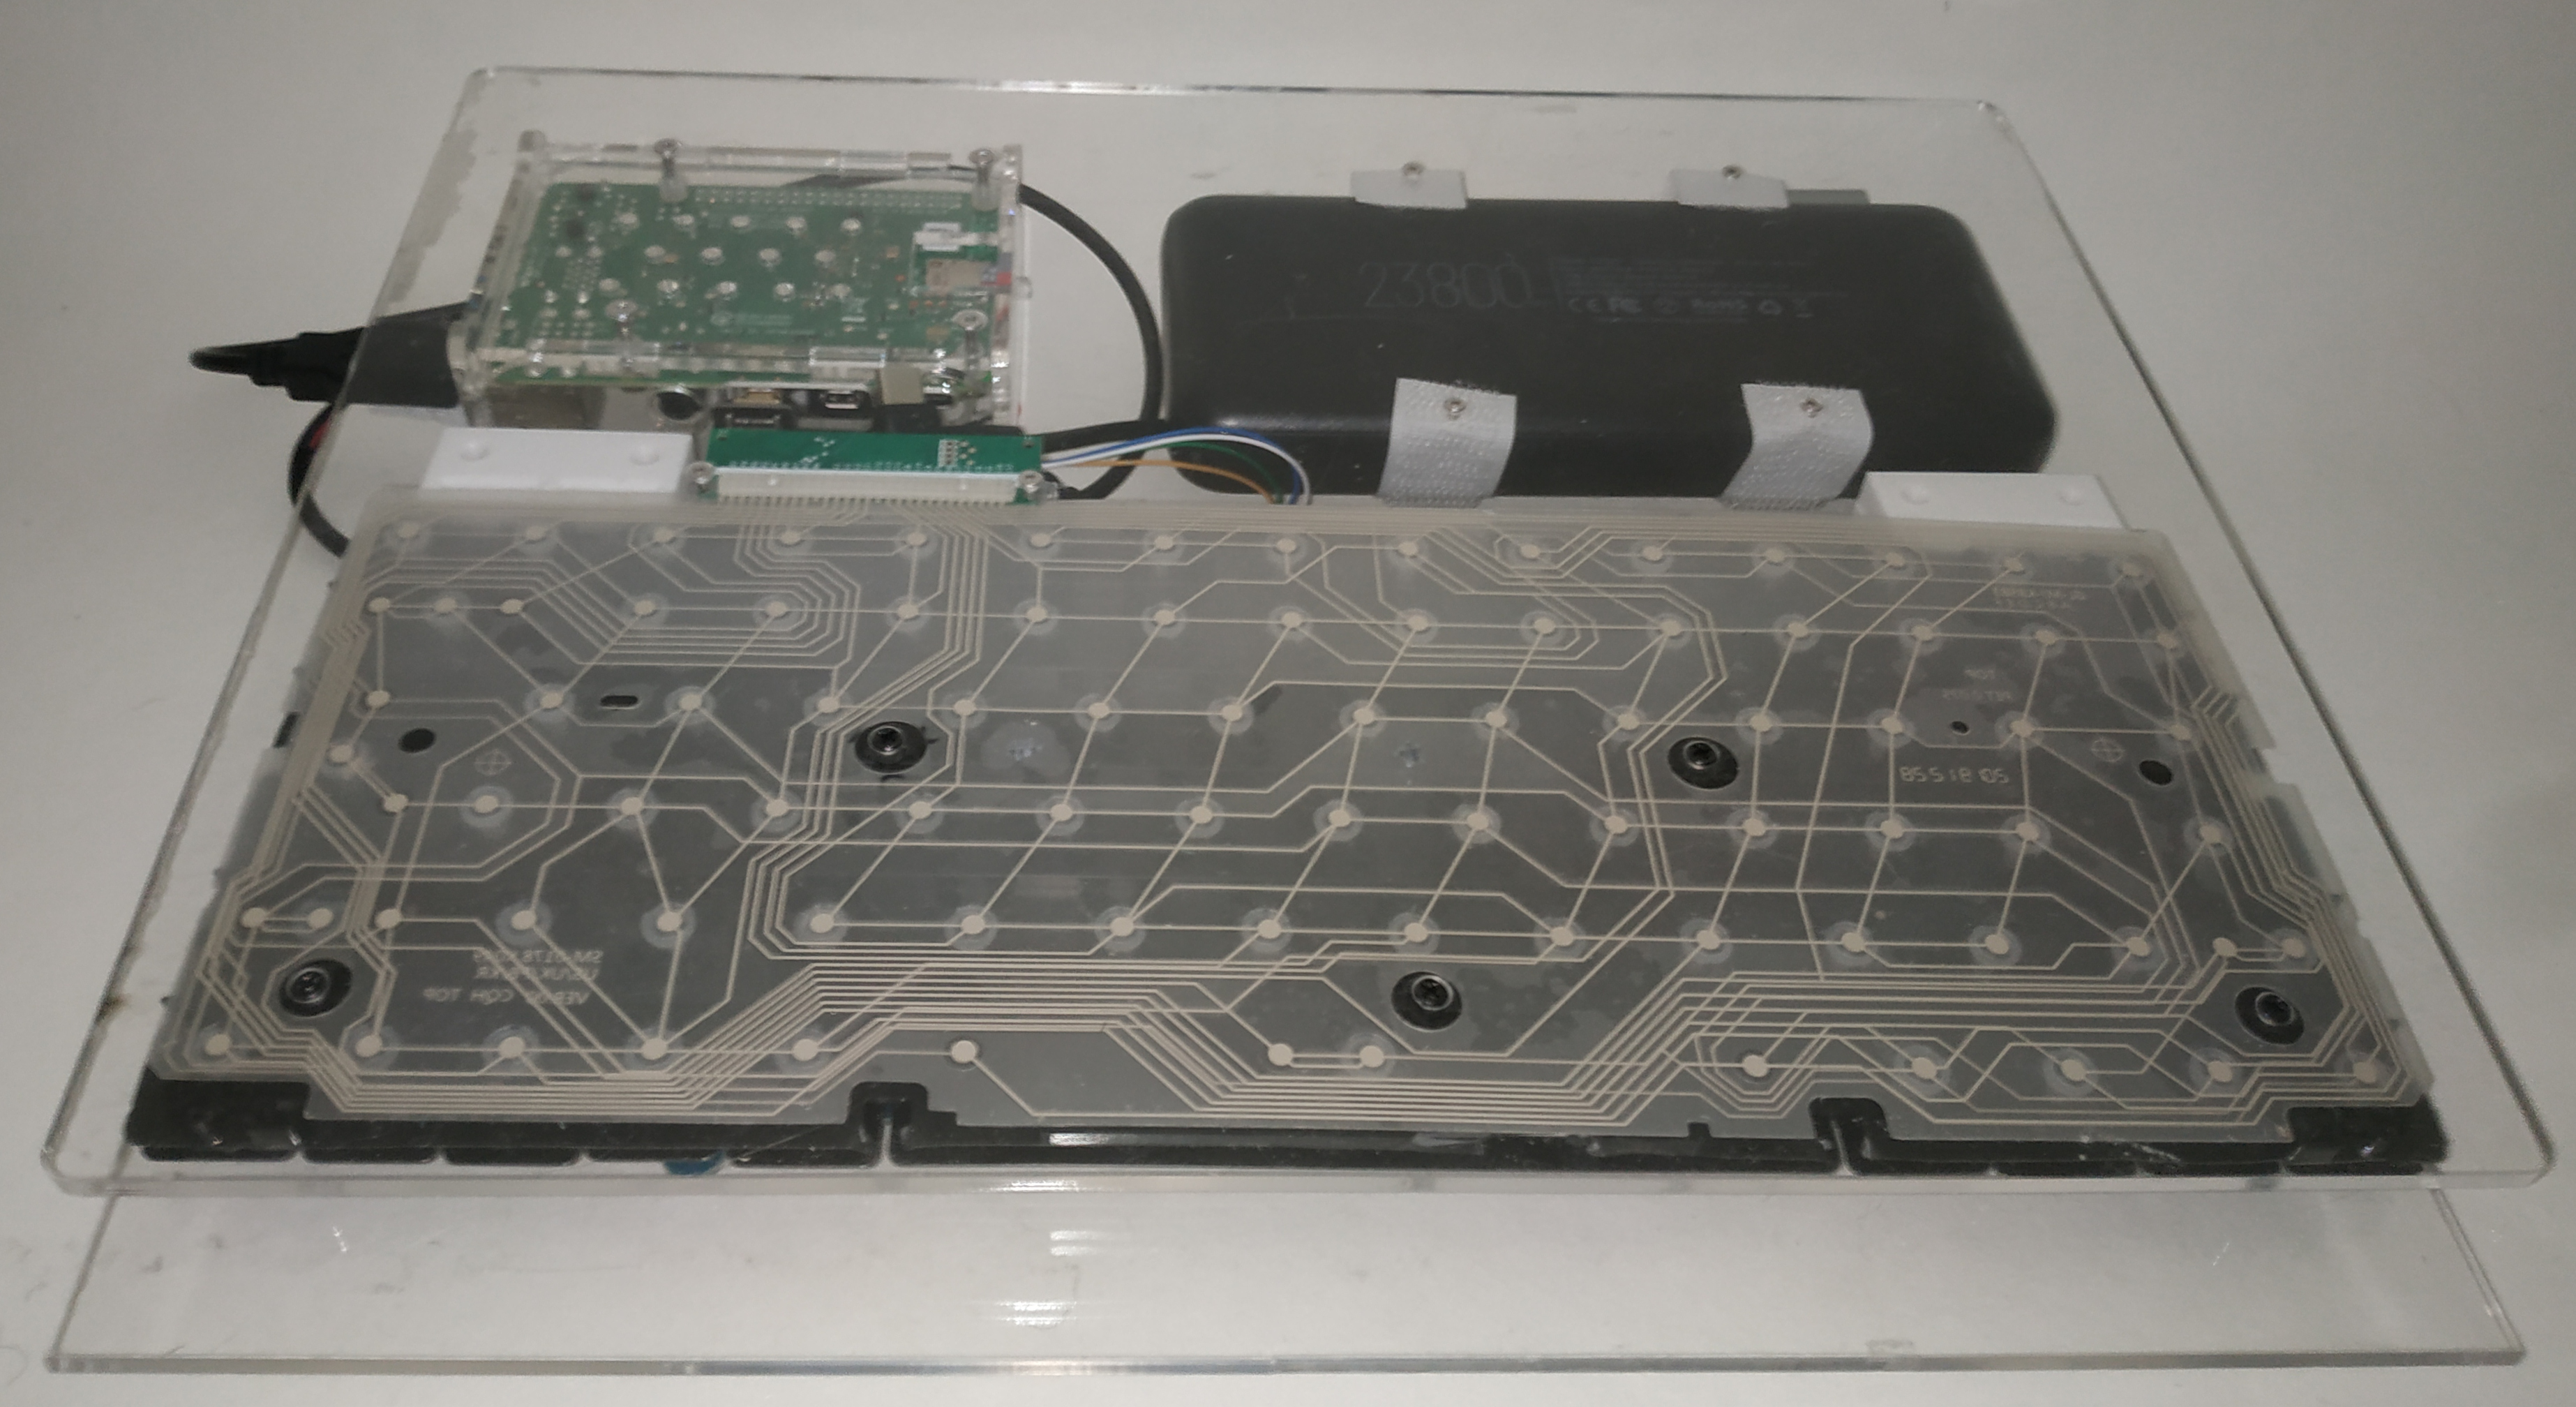
The power bank is now attached to the plexiglass plate with velcro. Velcro is screwed to the base plate.
Power bank images
Keyboard reduction
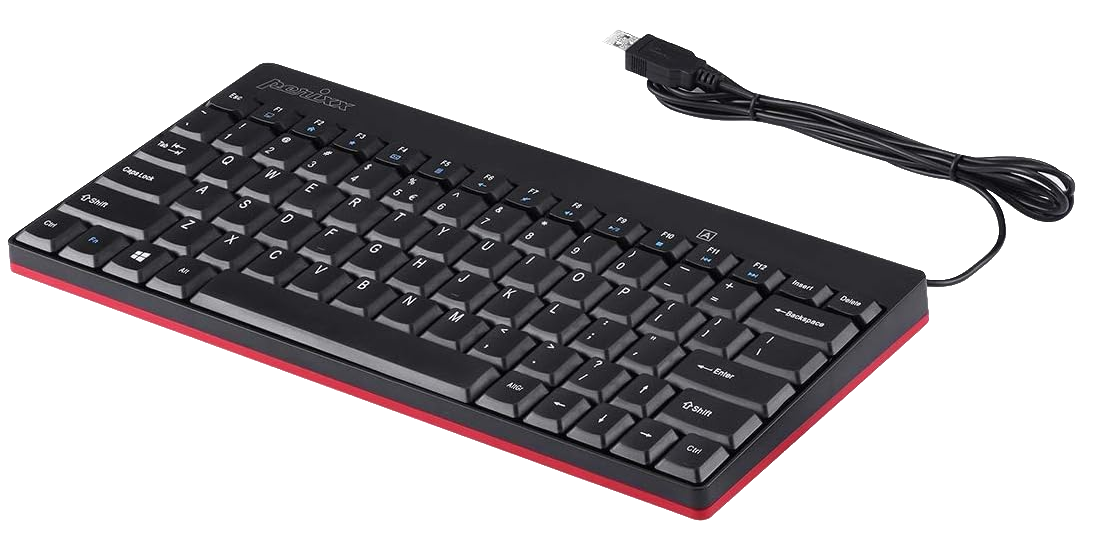
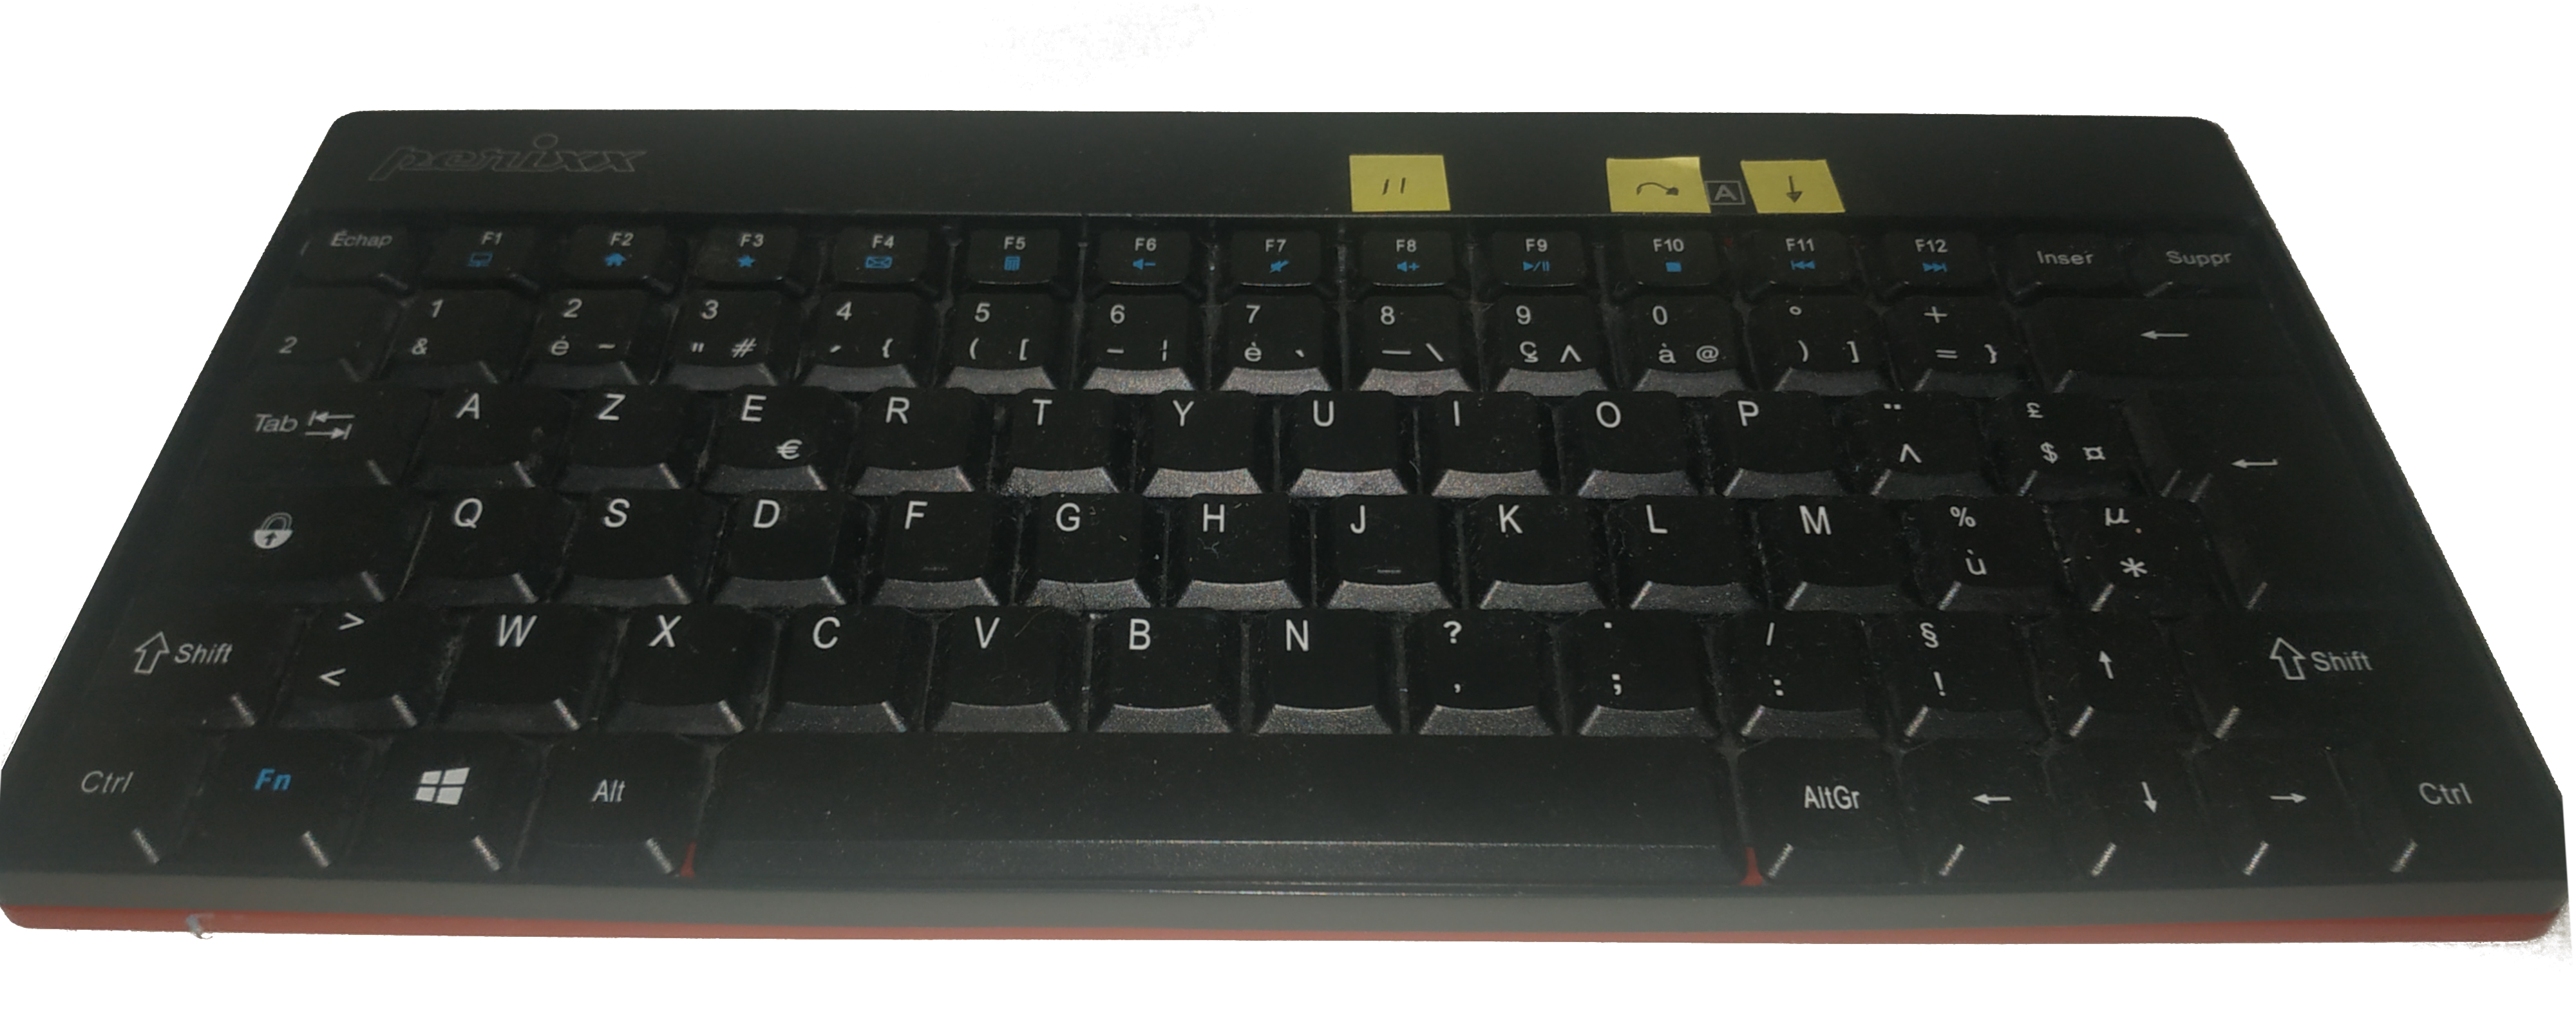
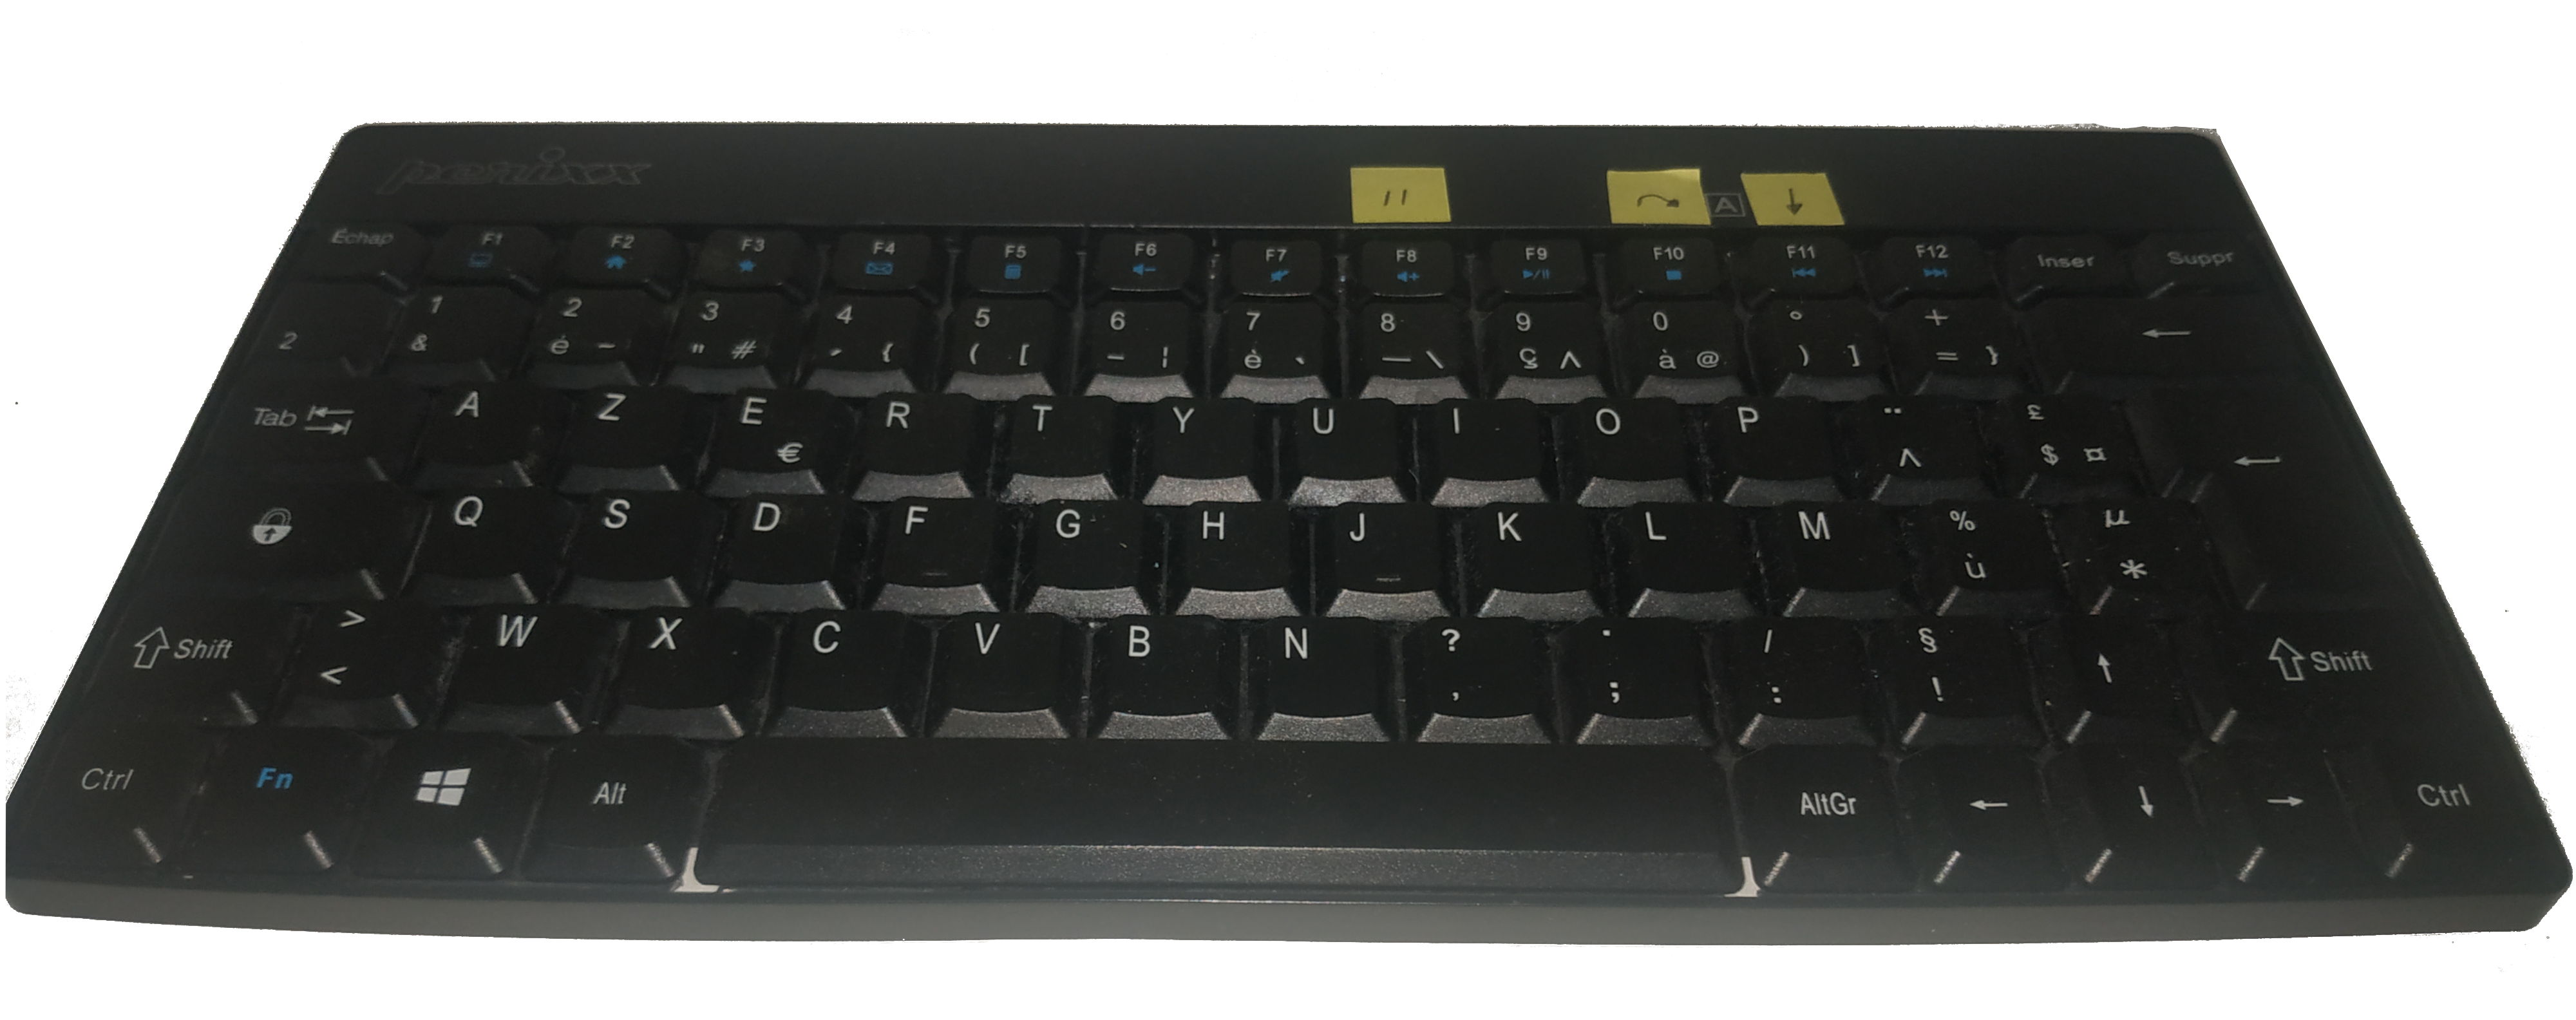
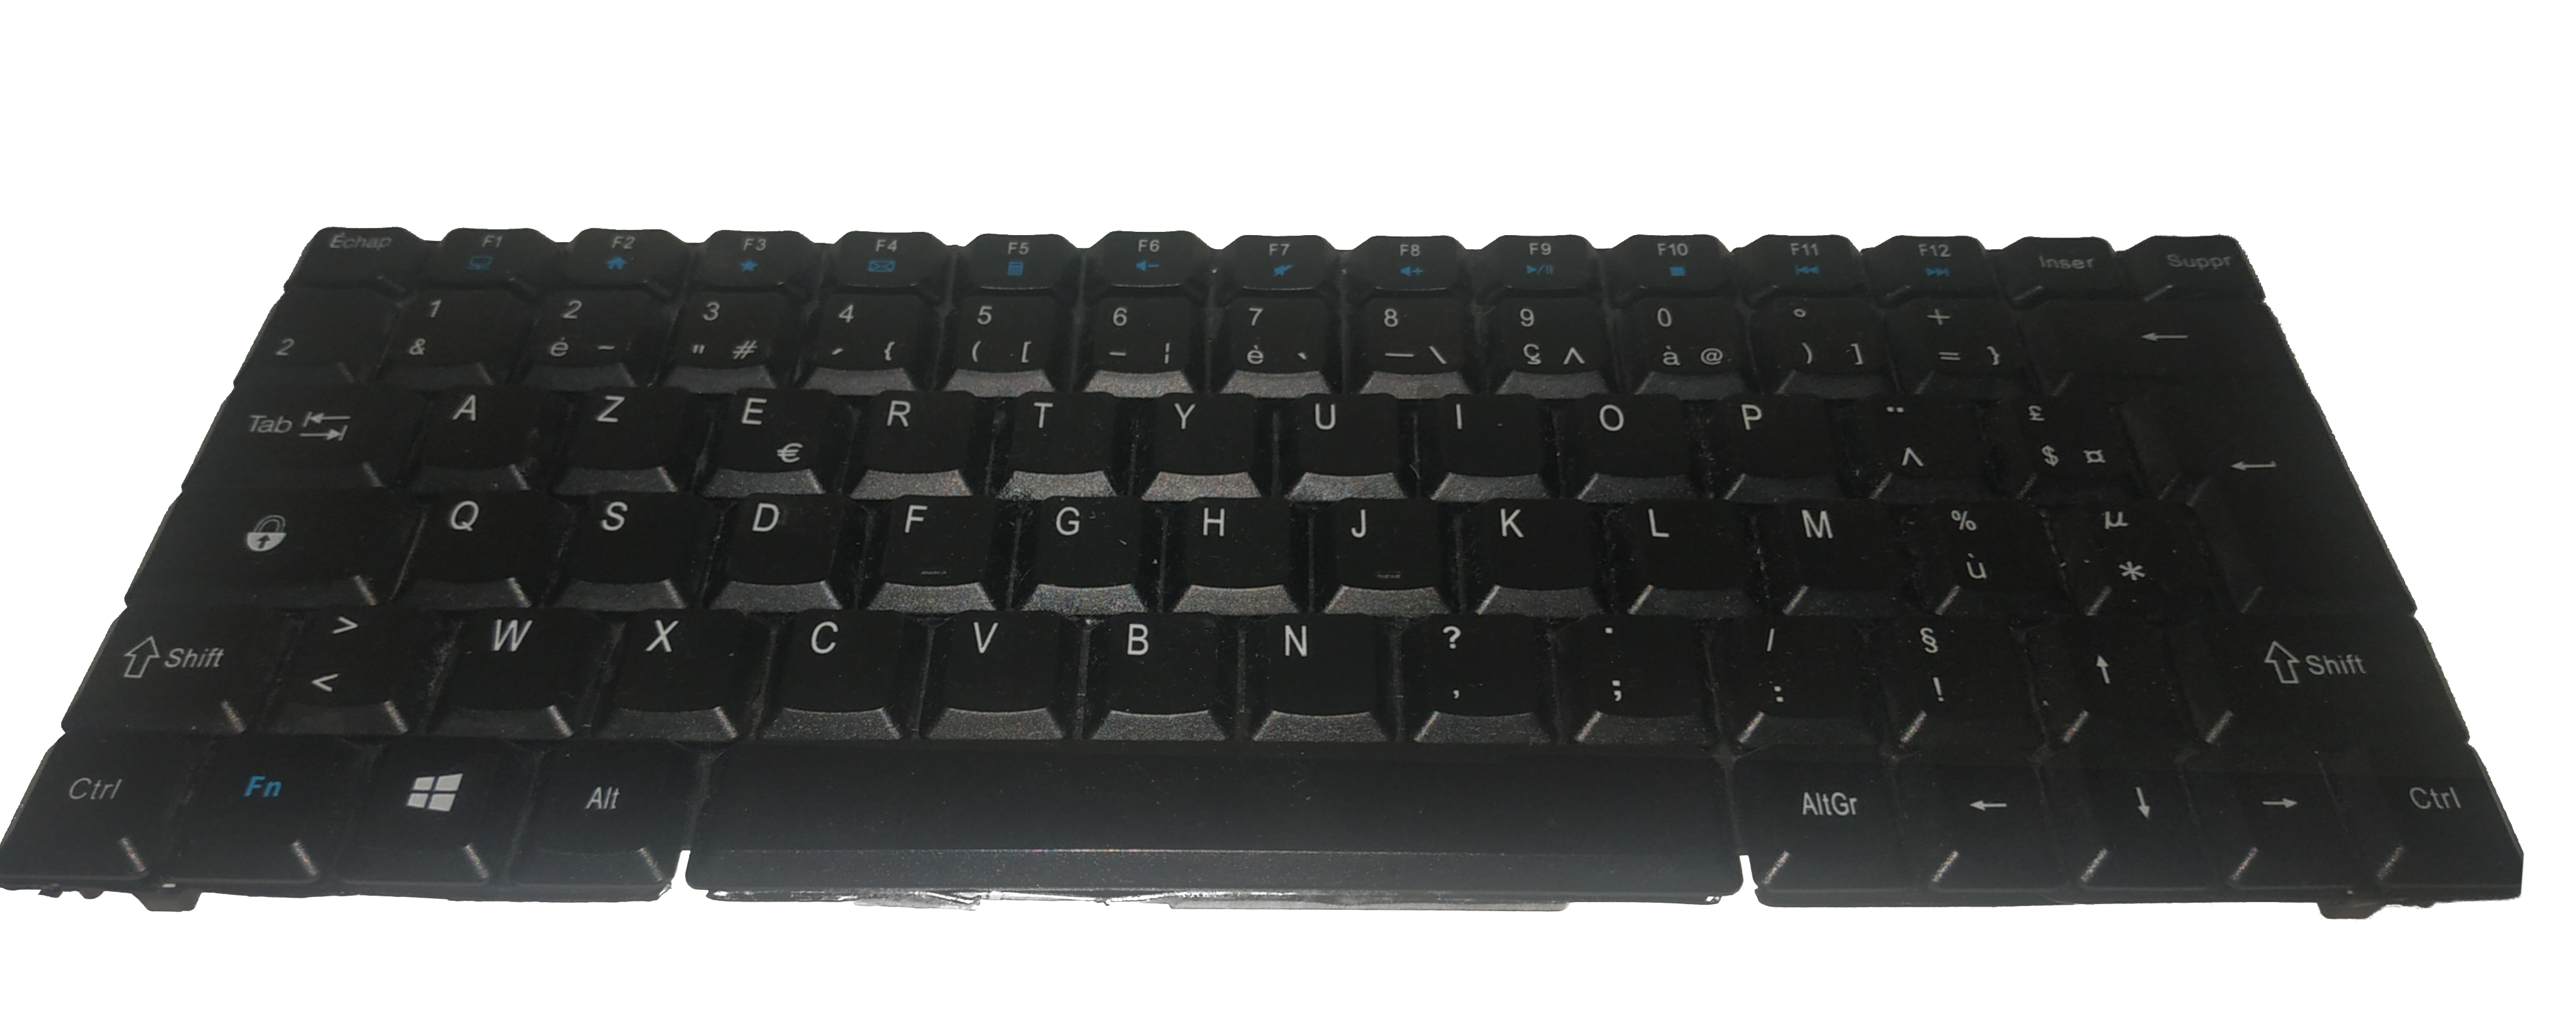
The keyboard is already small, but with a diet, it could be made twice as compact. We can also see that the keyboard is ergonomically tilted - the support is bigger at the top. Let’s remove that!
Keyboard images
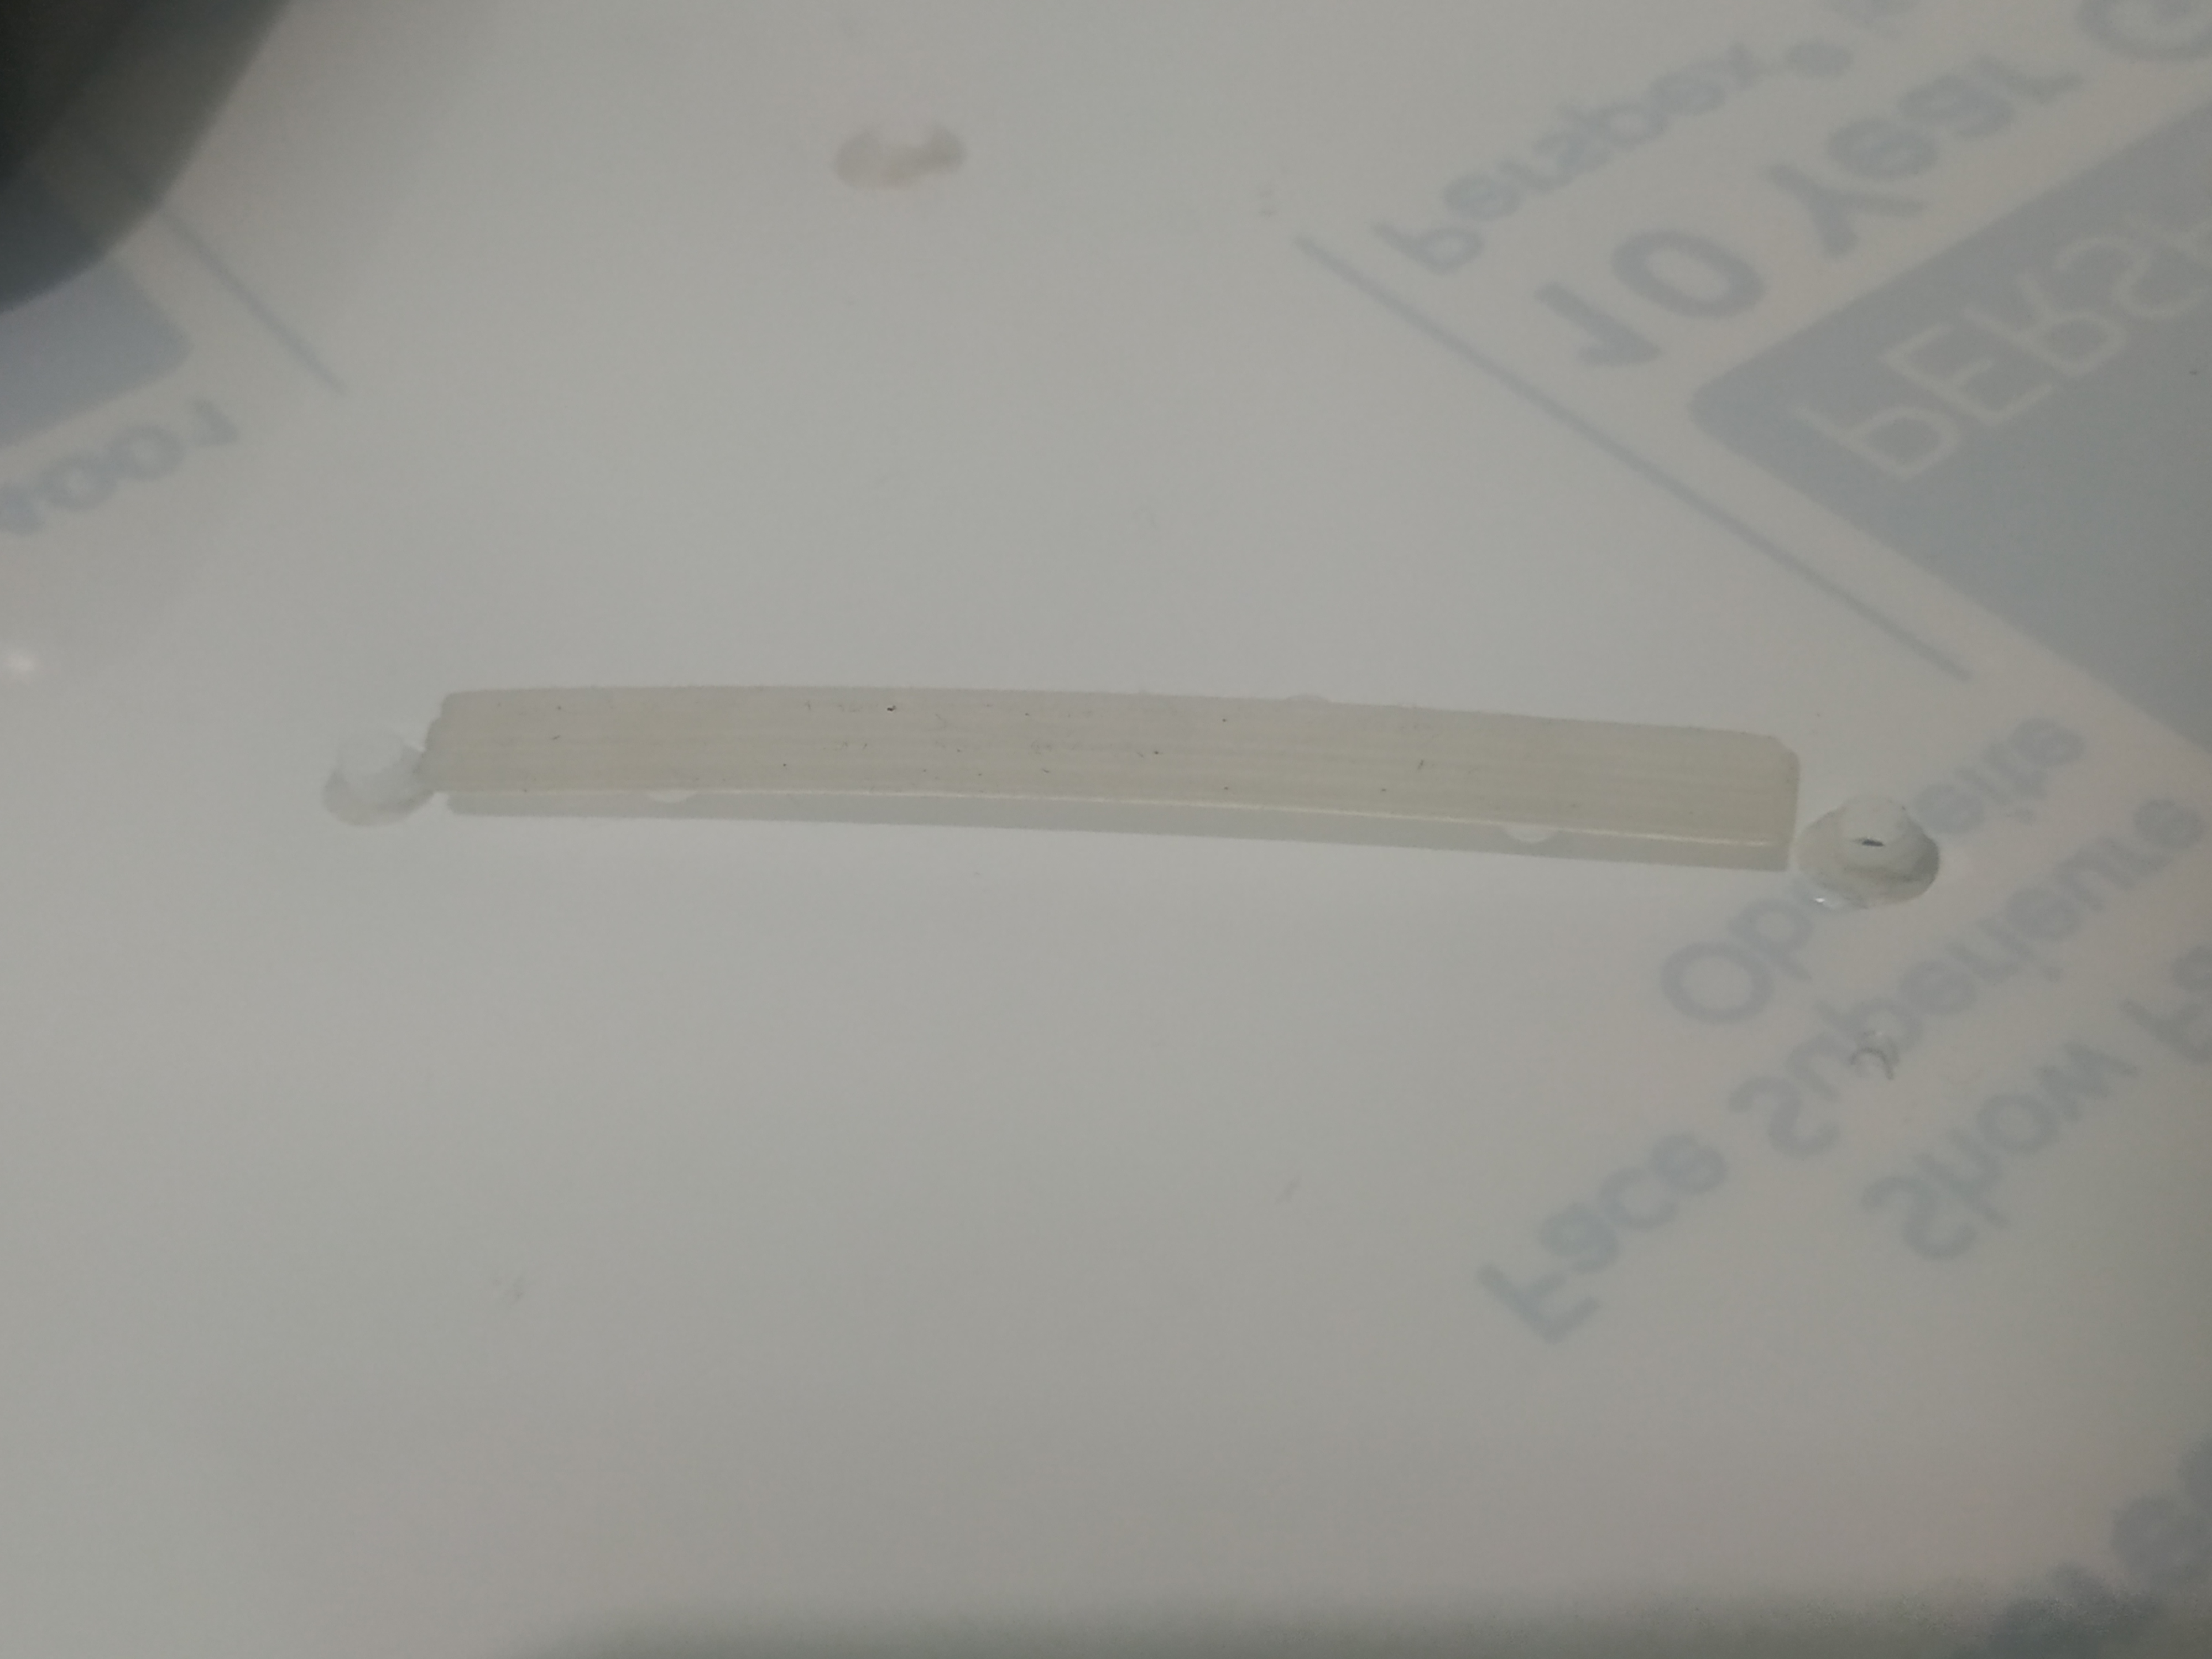
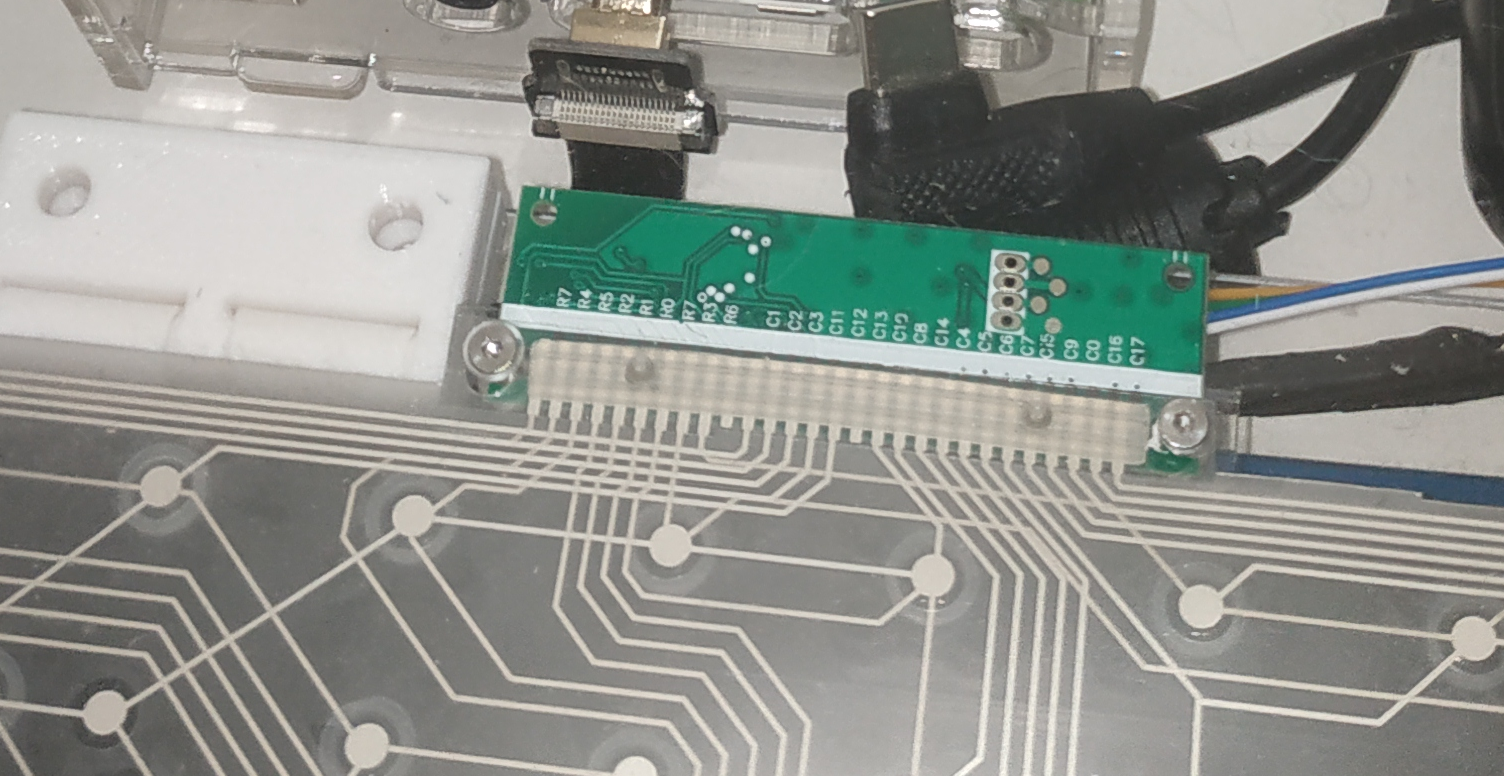
With all of that removed, the keyboard connector is not attached but it needs to be! Also the long USB cable is cut with a new USB socket.
Keyboard connector images
Screen
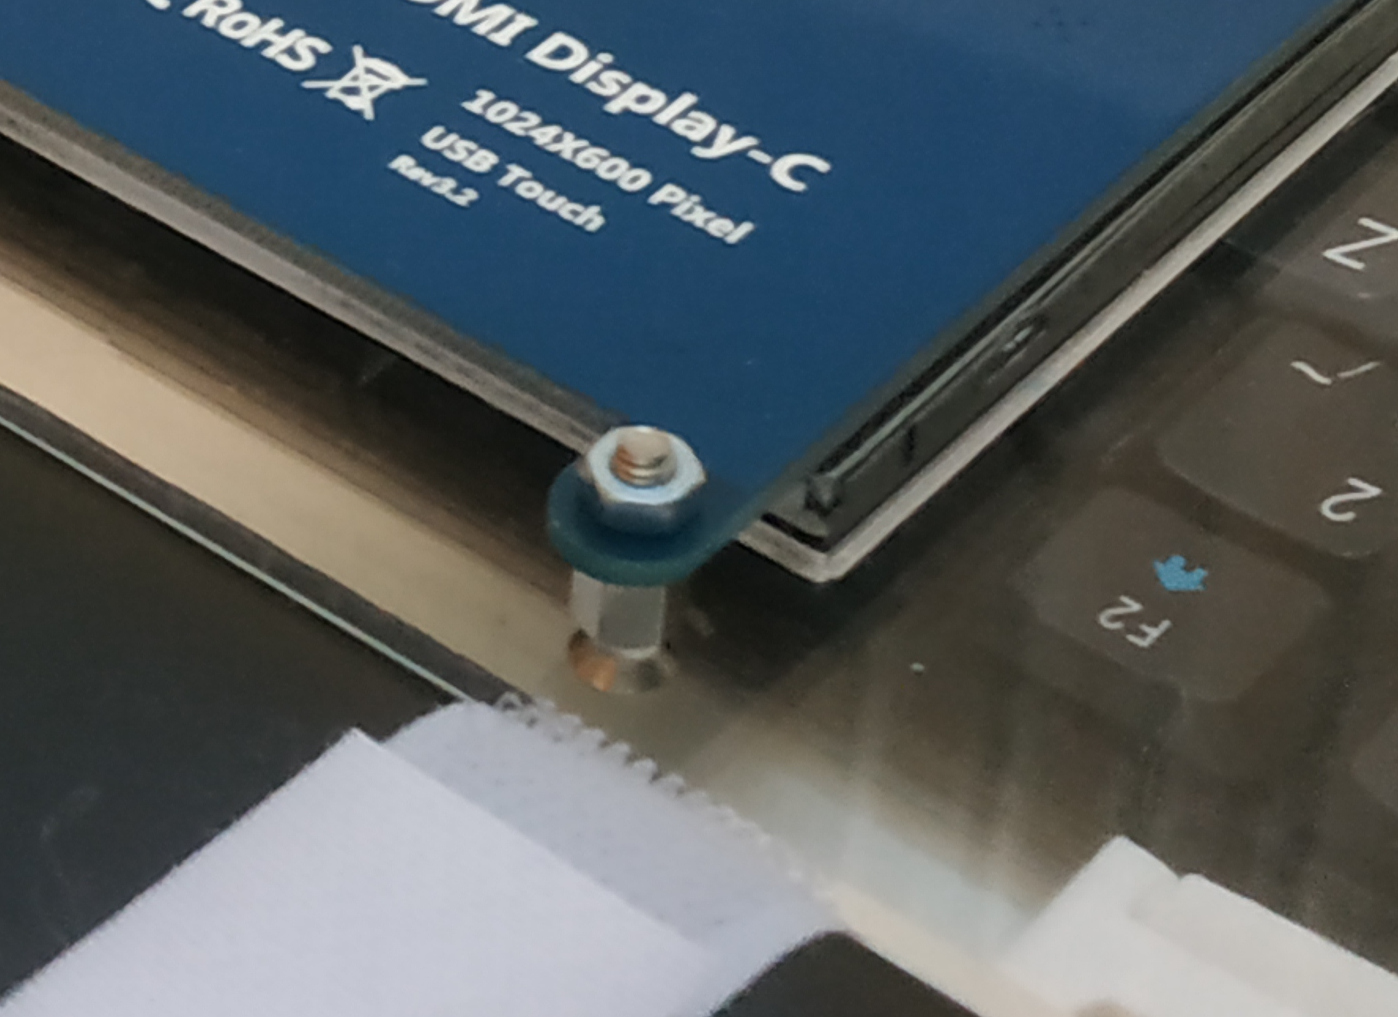
The screen is now attached with one plexiglass plate, the back of the screen is no longer protected.
Screen image
Raspberry
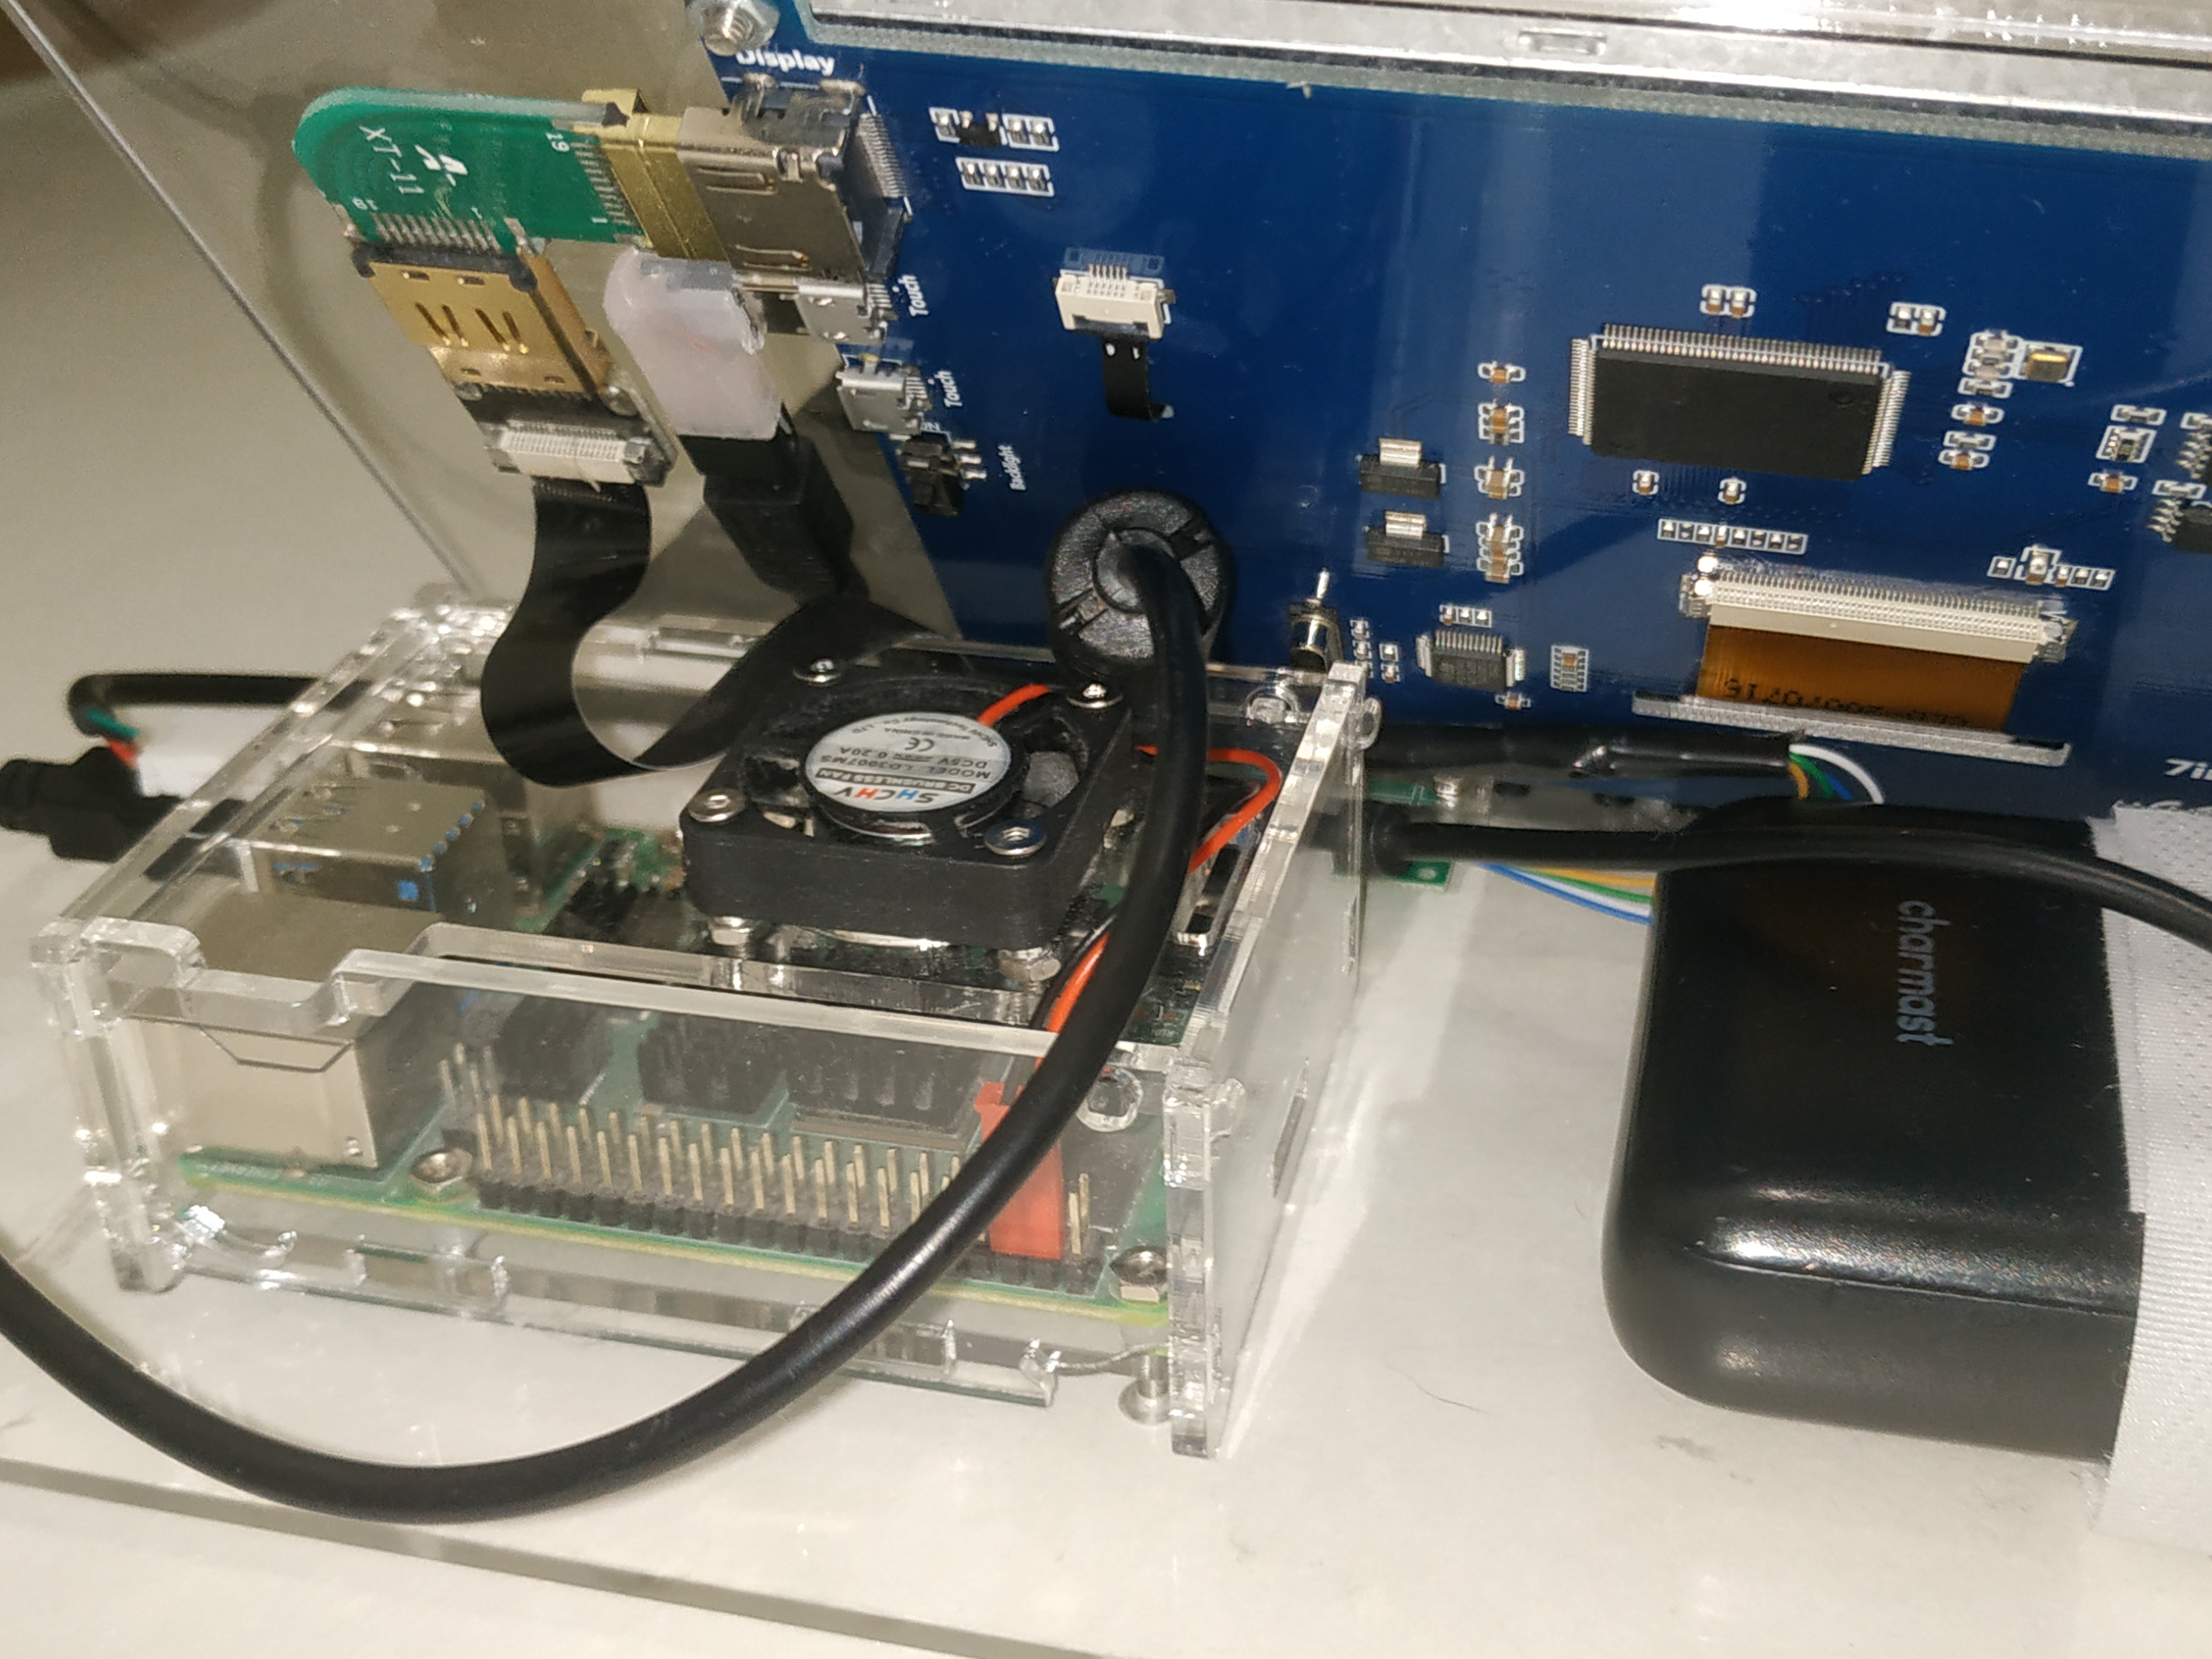
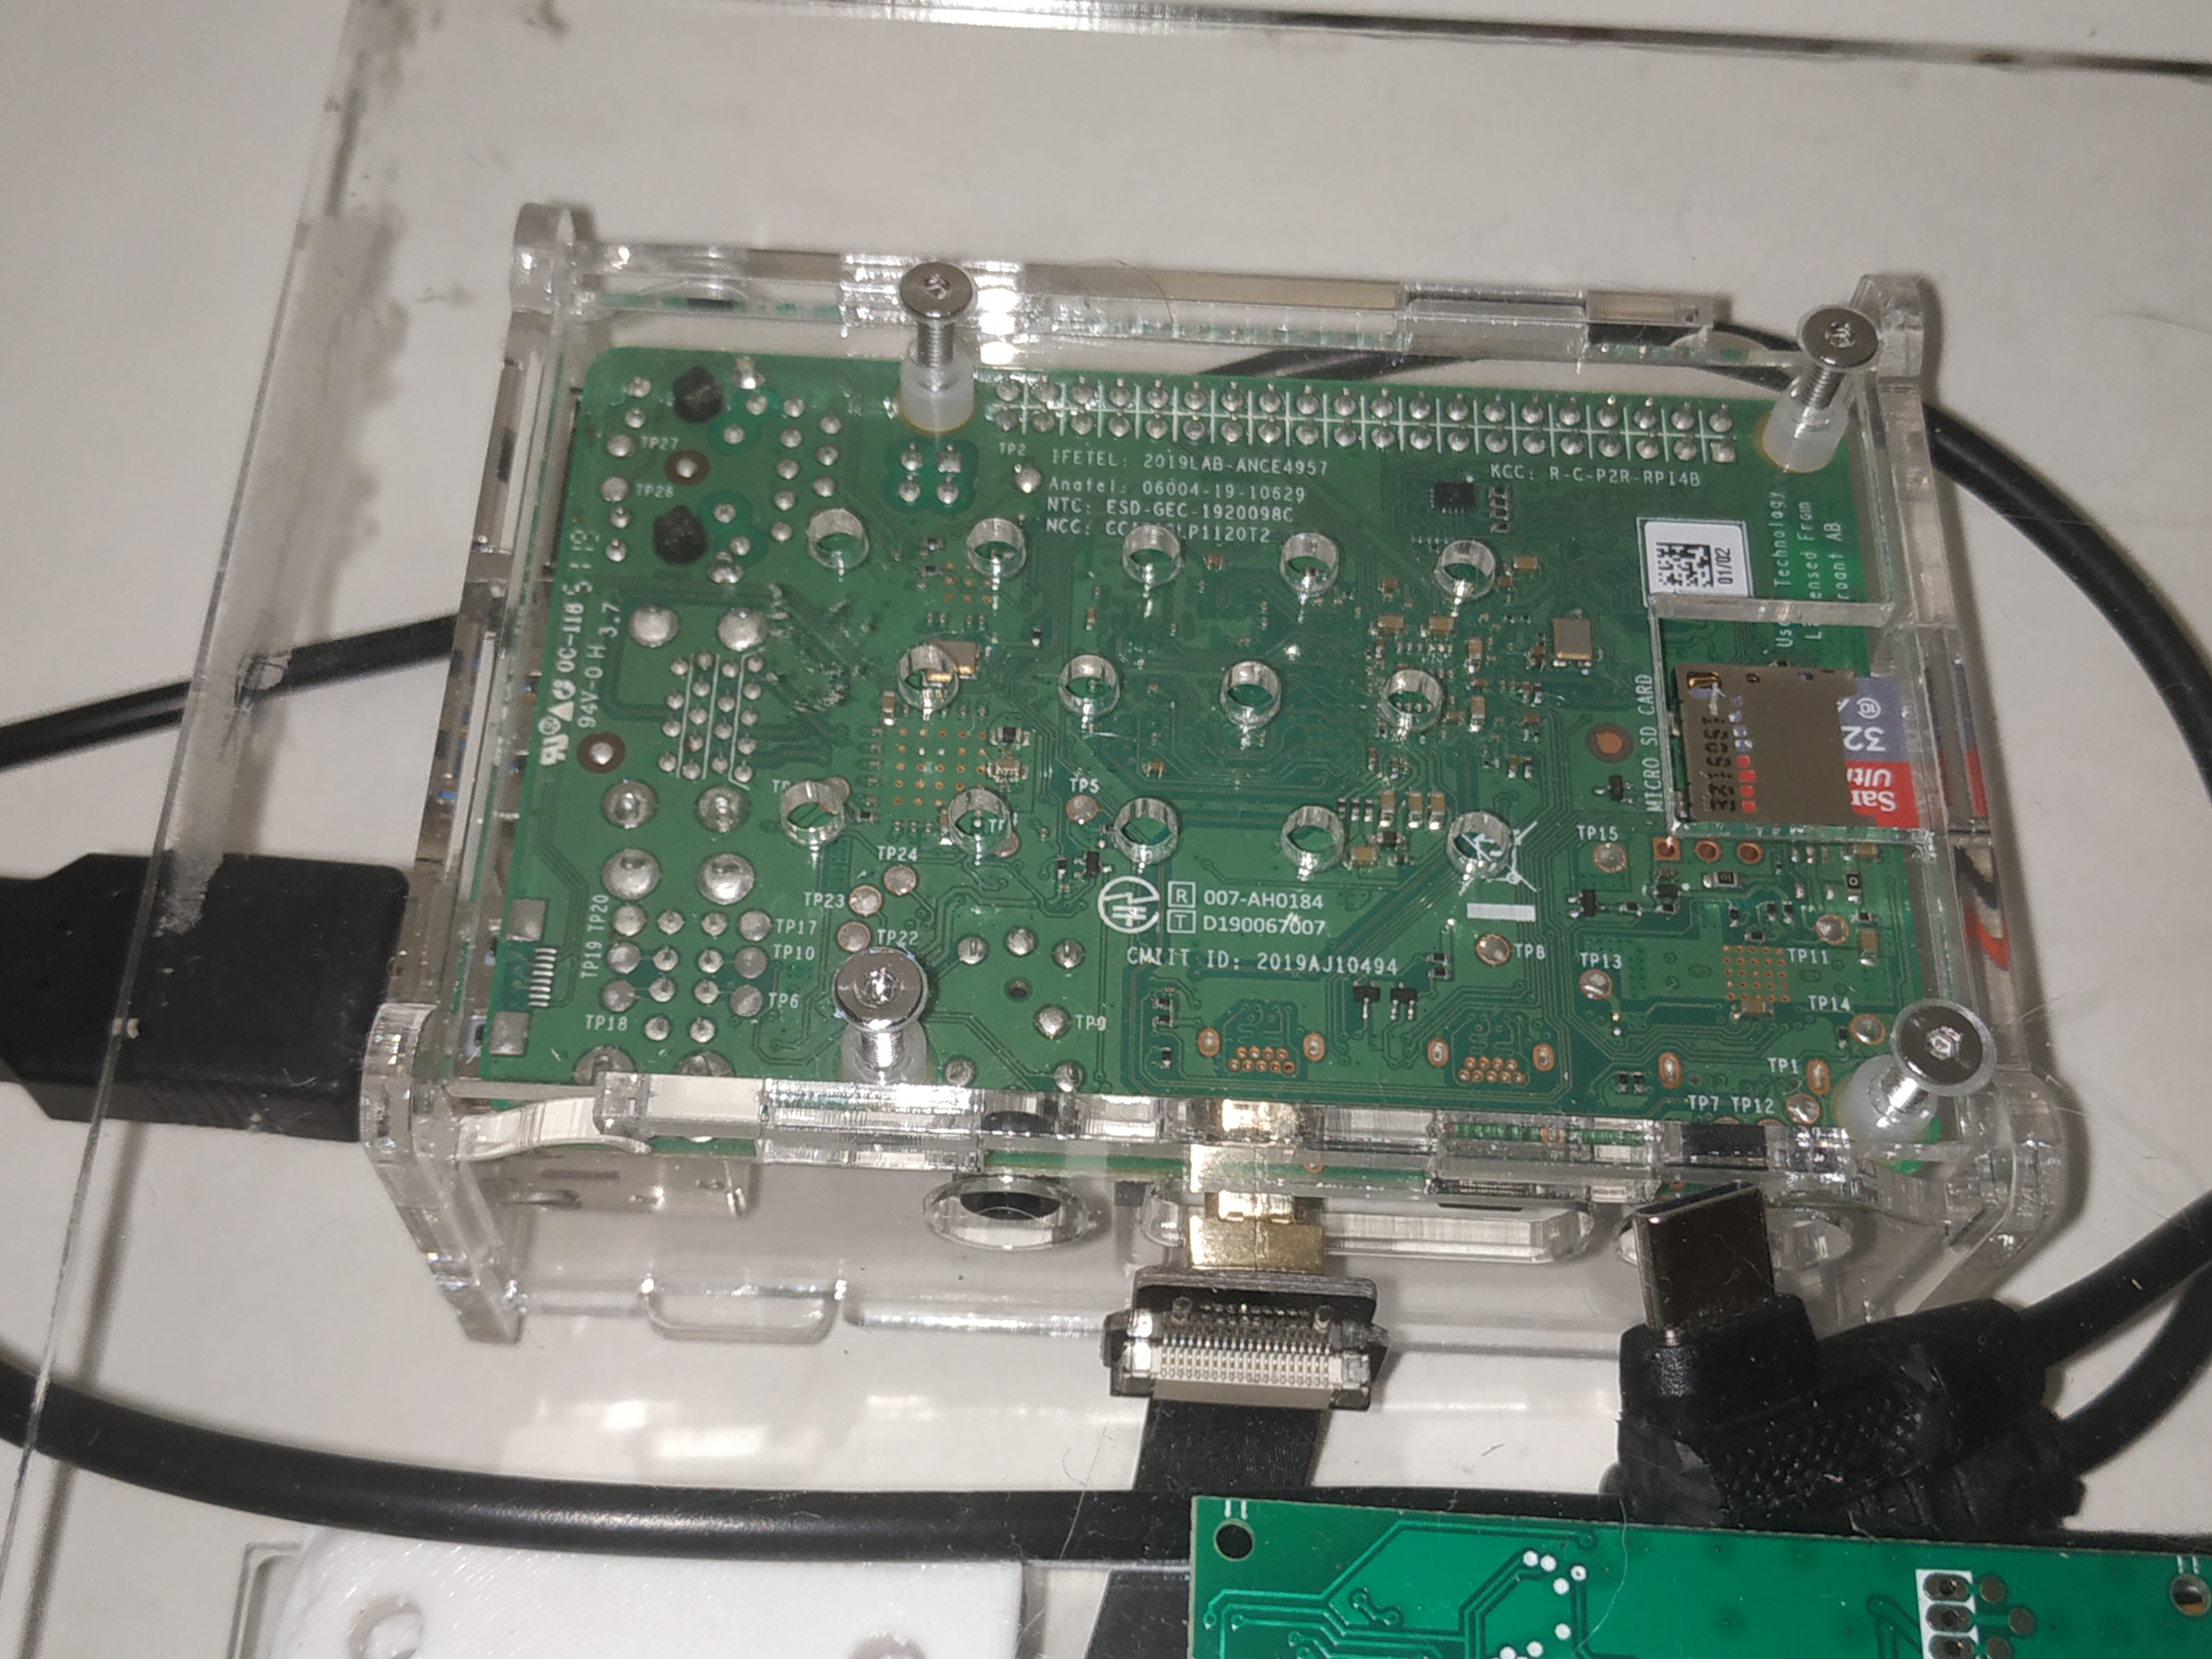
As the complete case is gone, the raspberry is now protected with its own plastic case and attached with screws.
Raspberry images
Final full pics
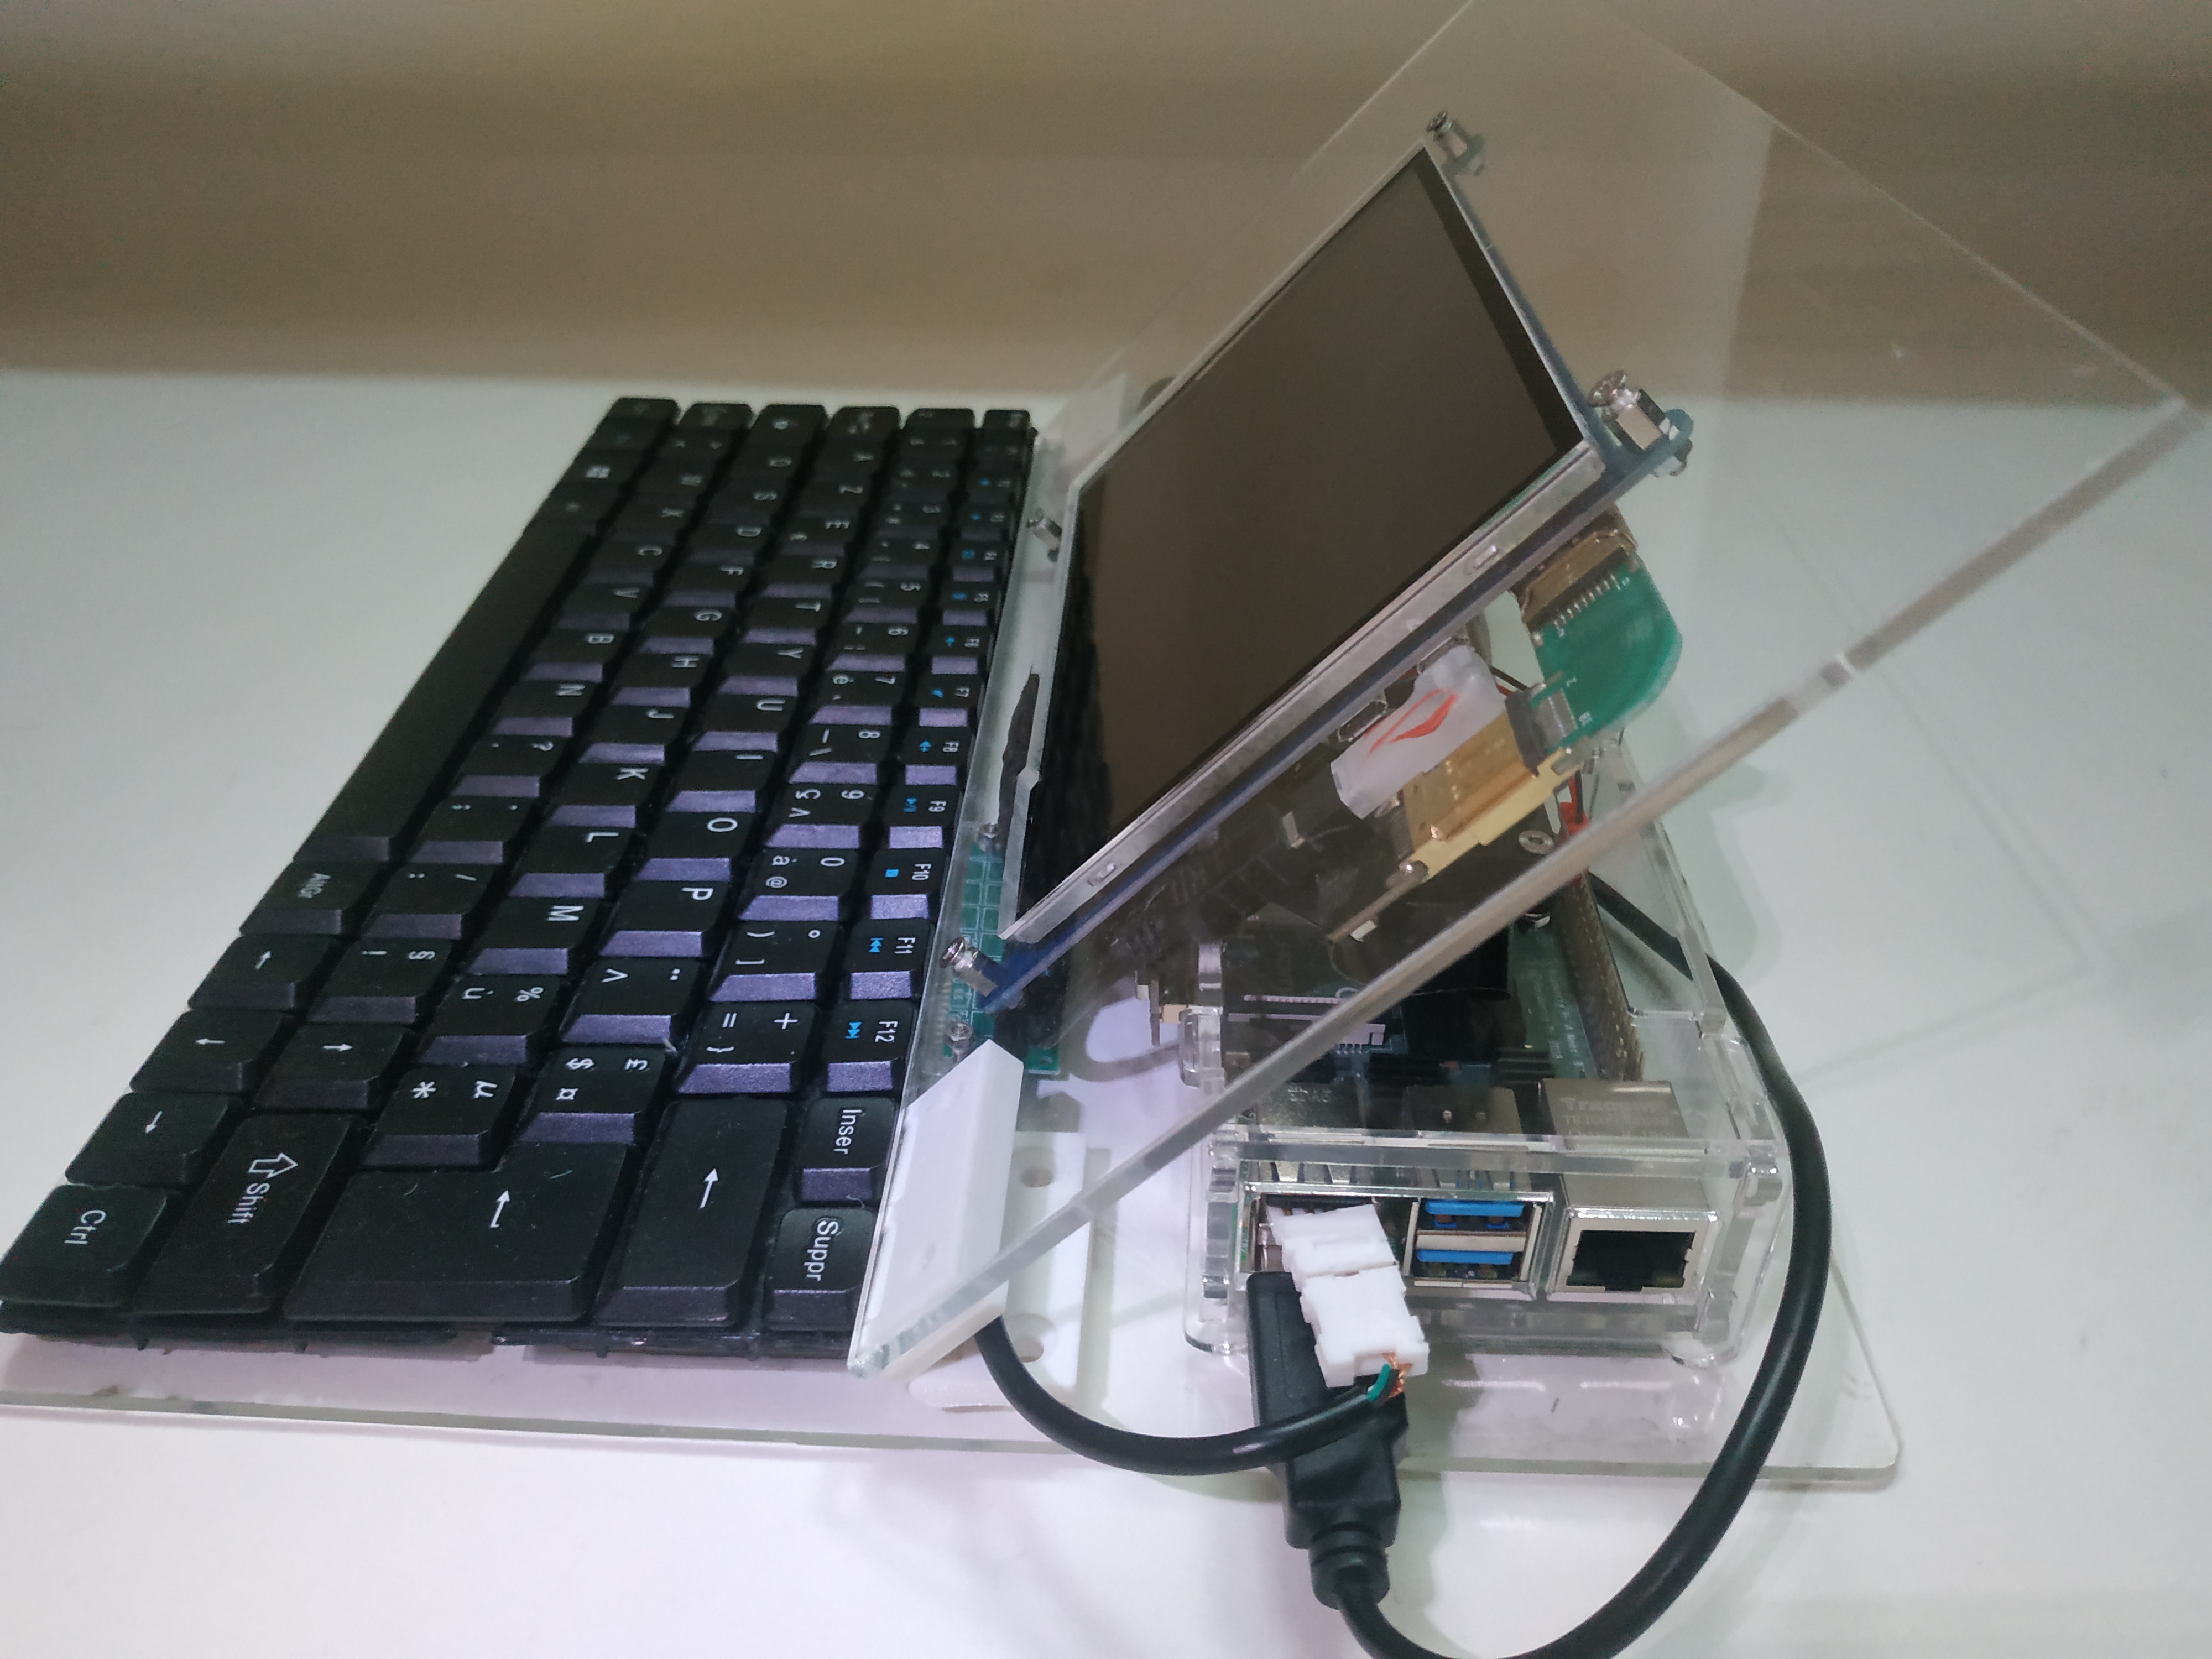
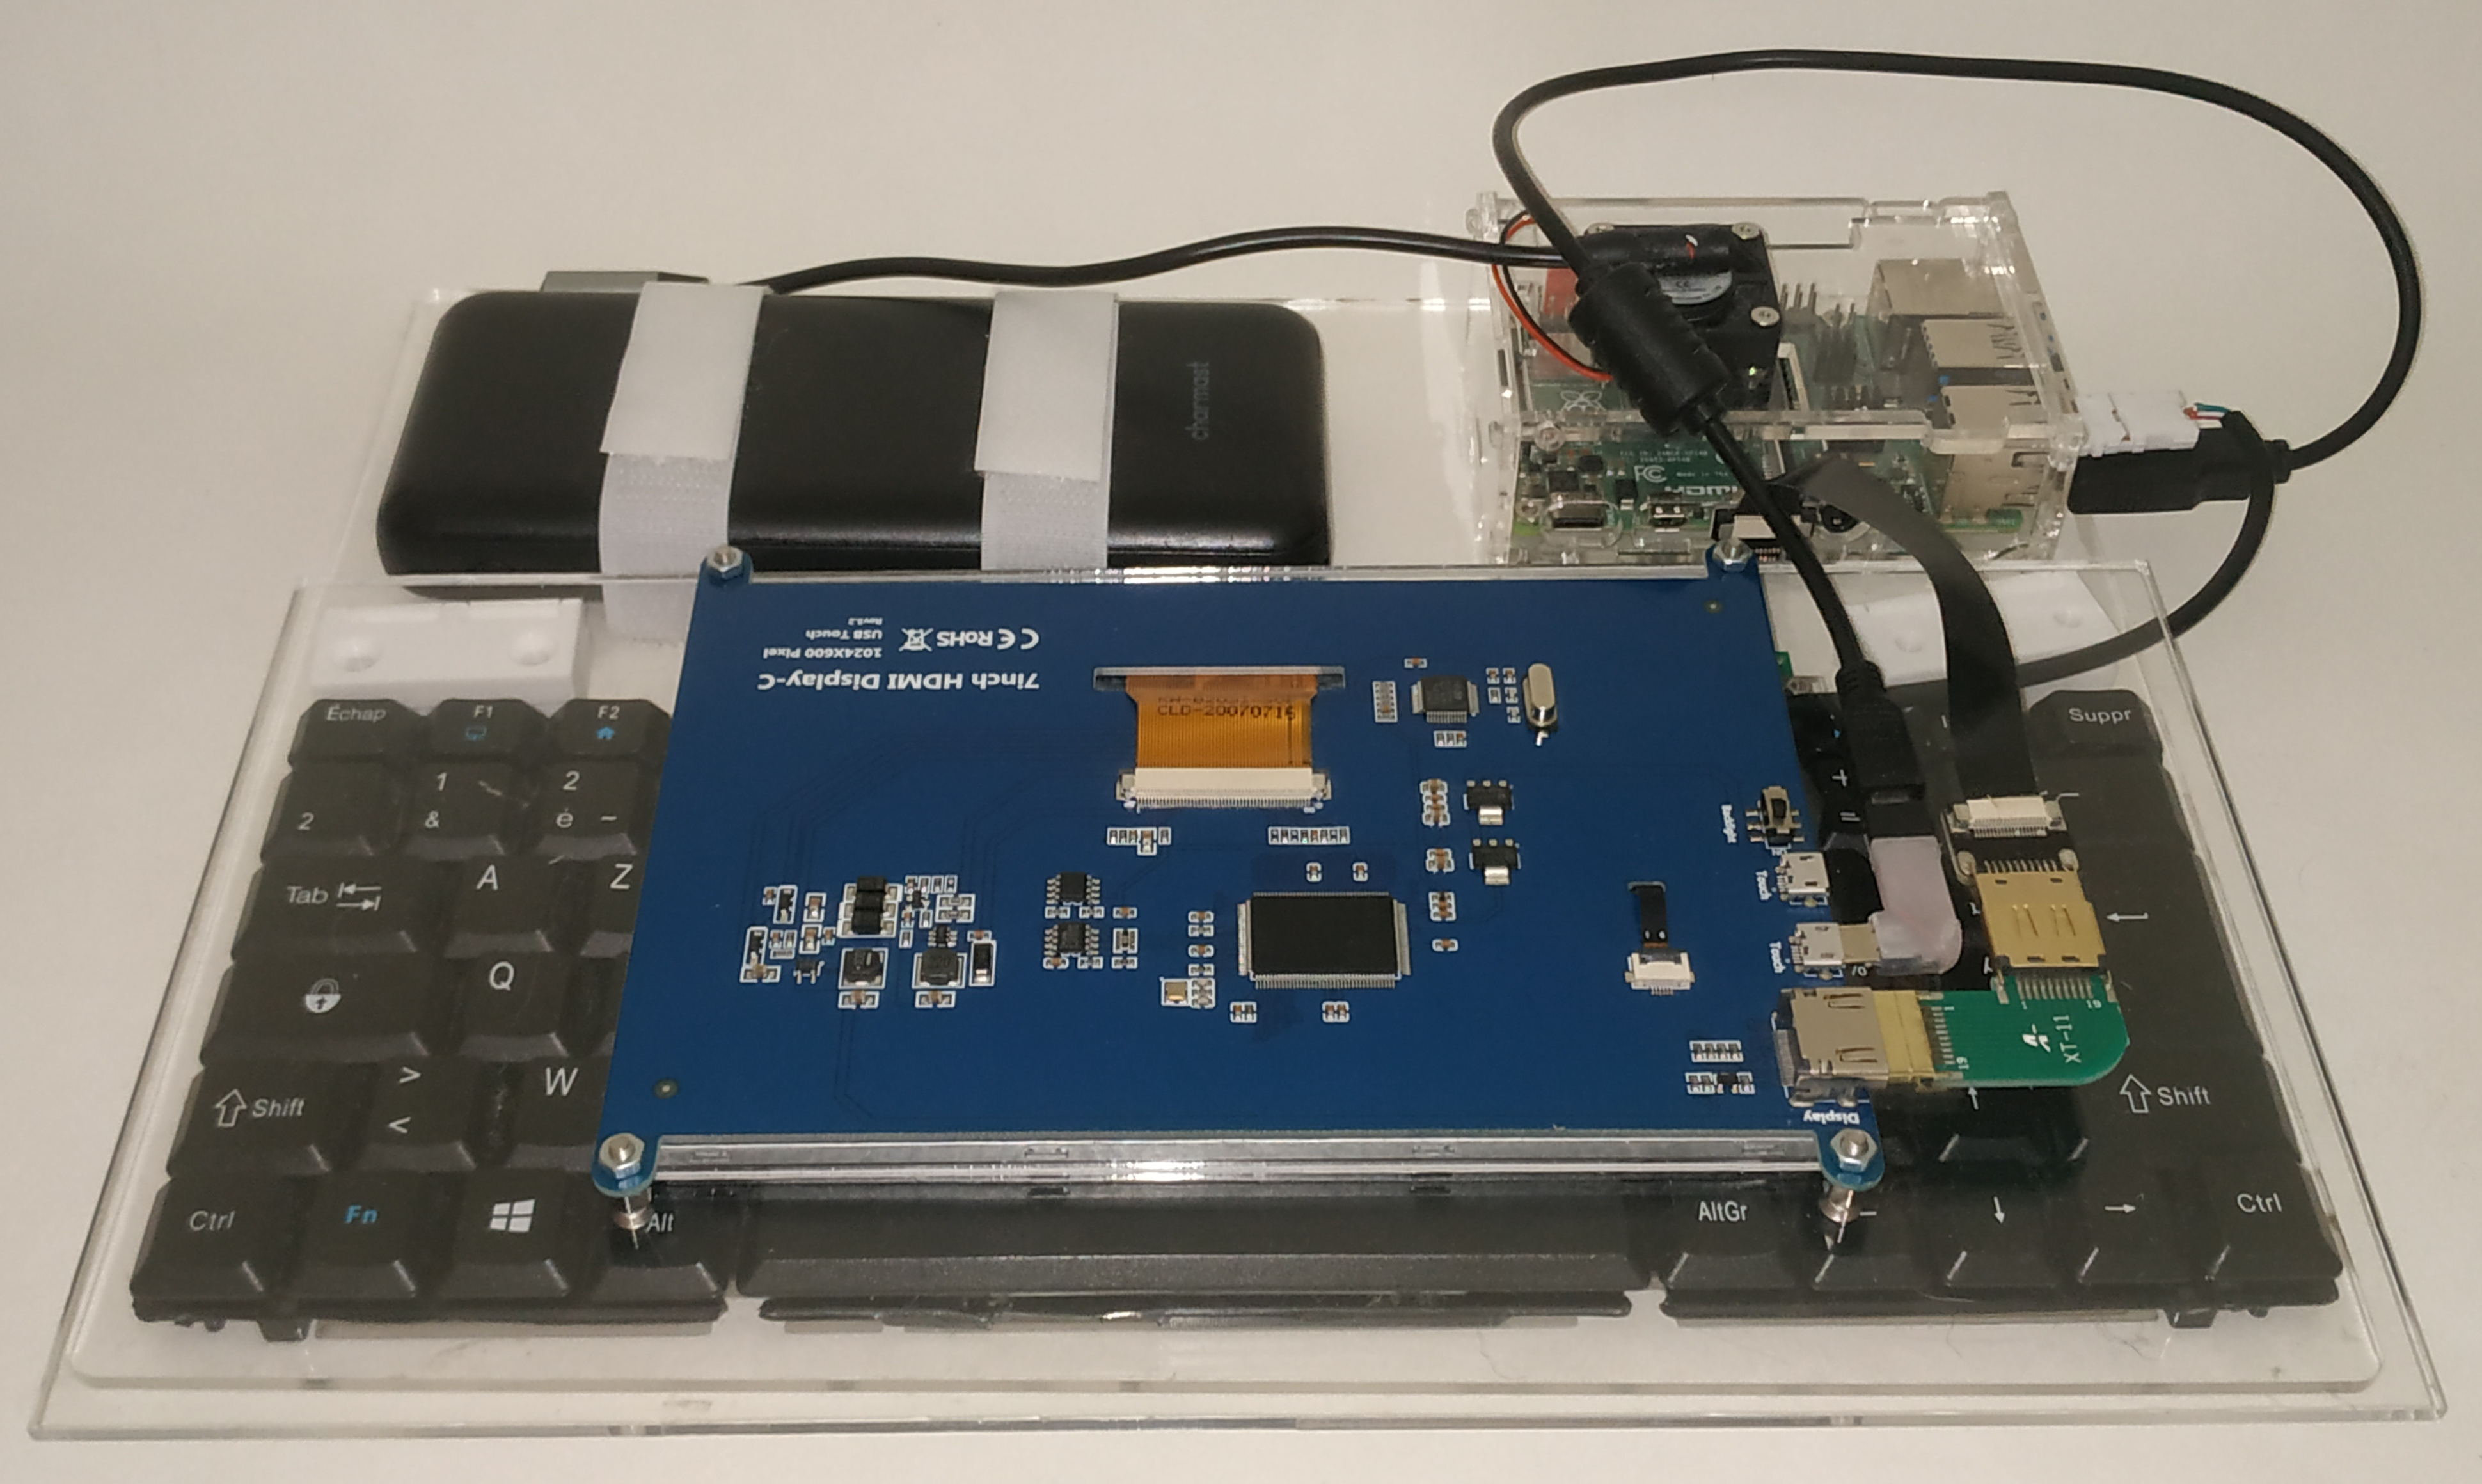
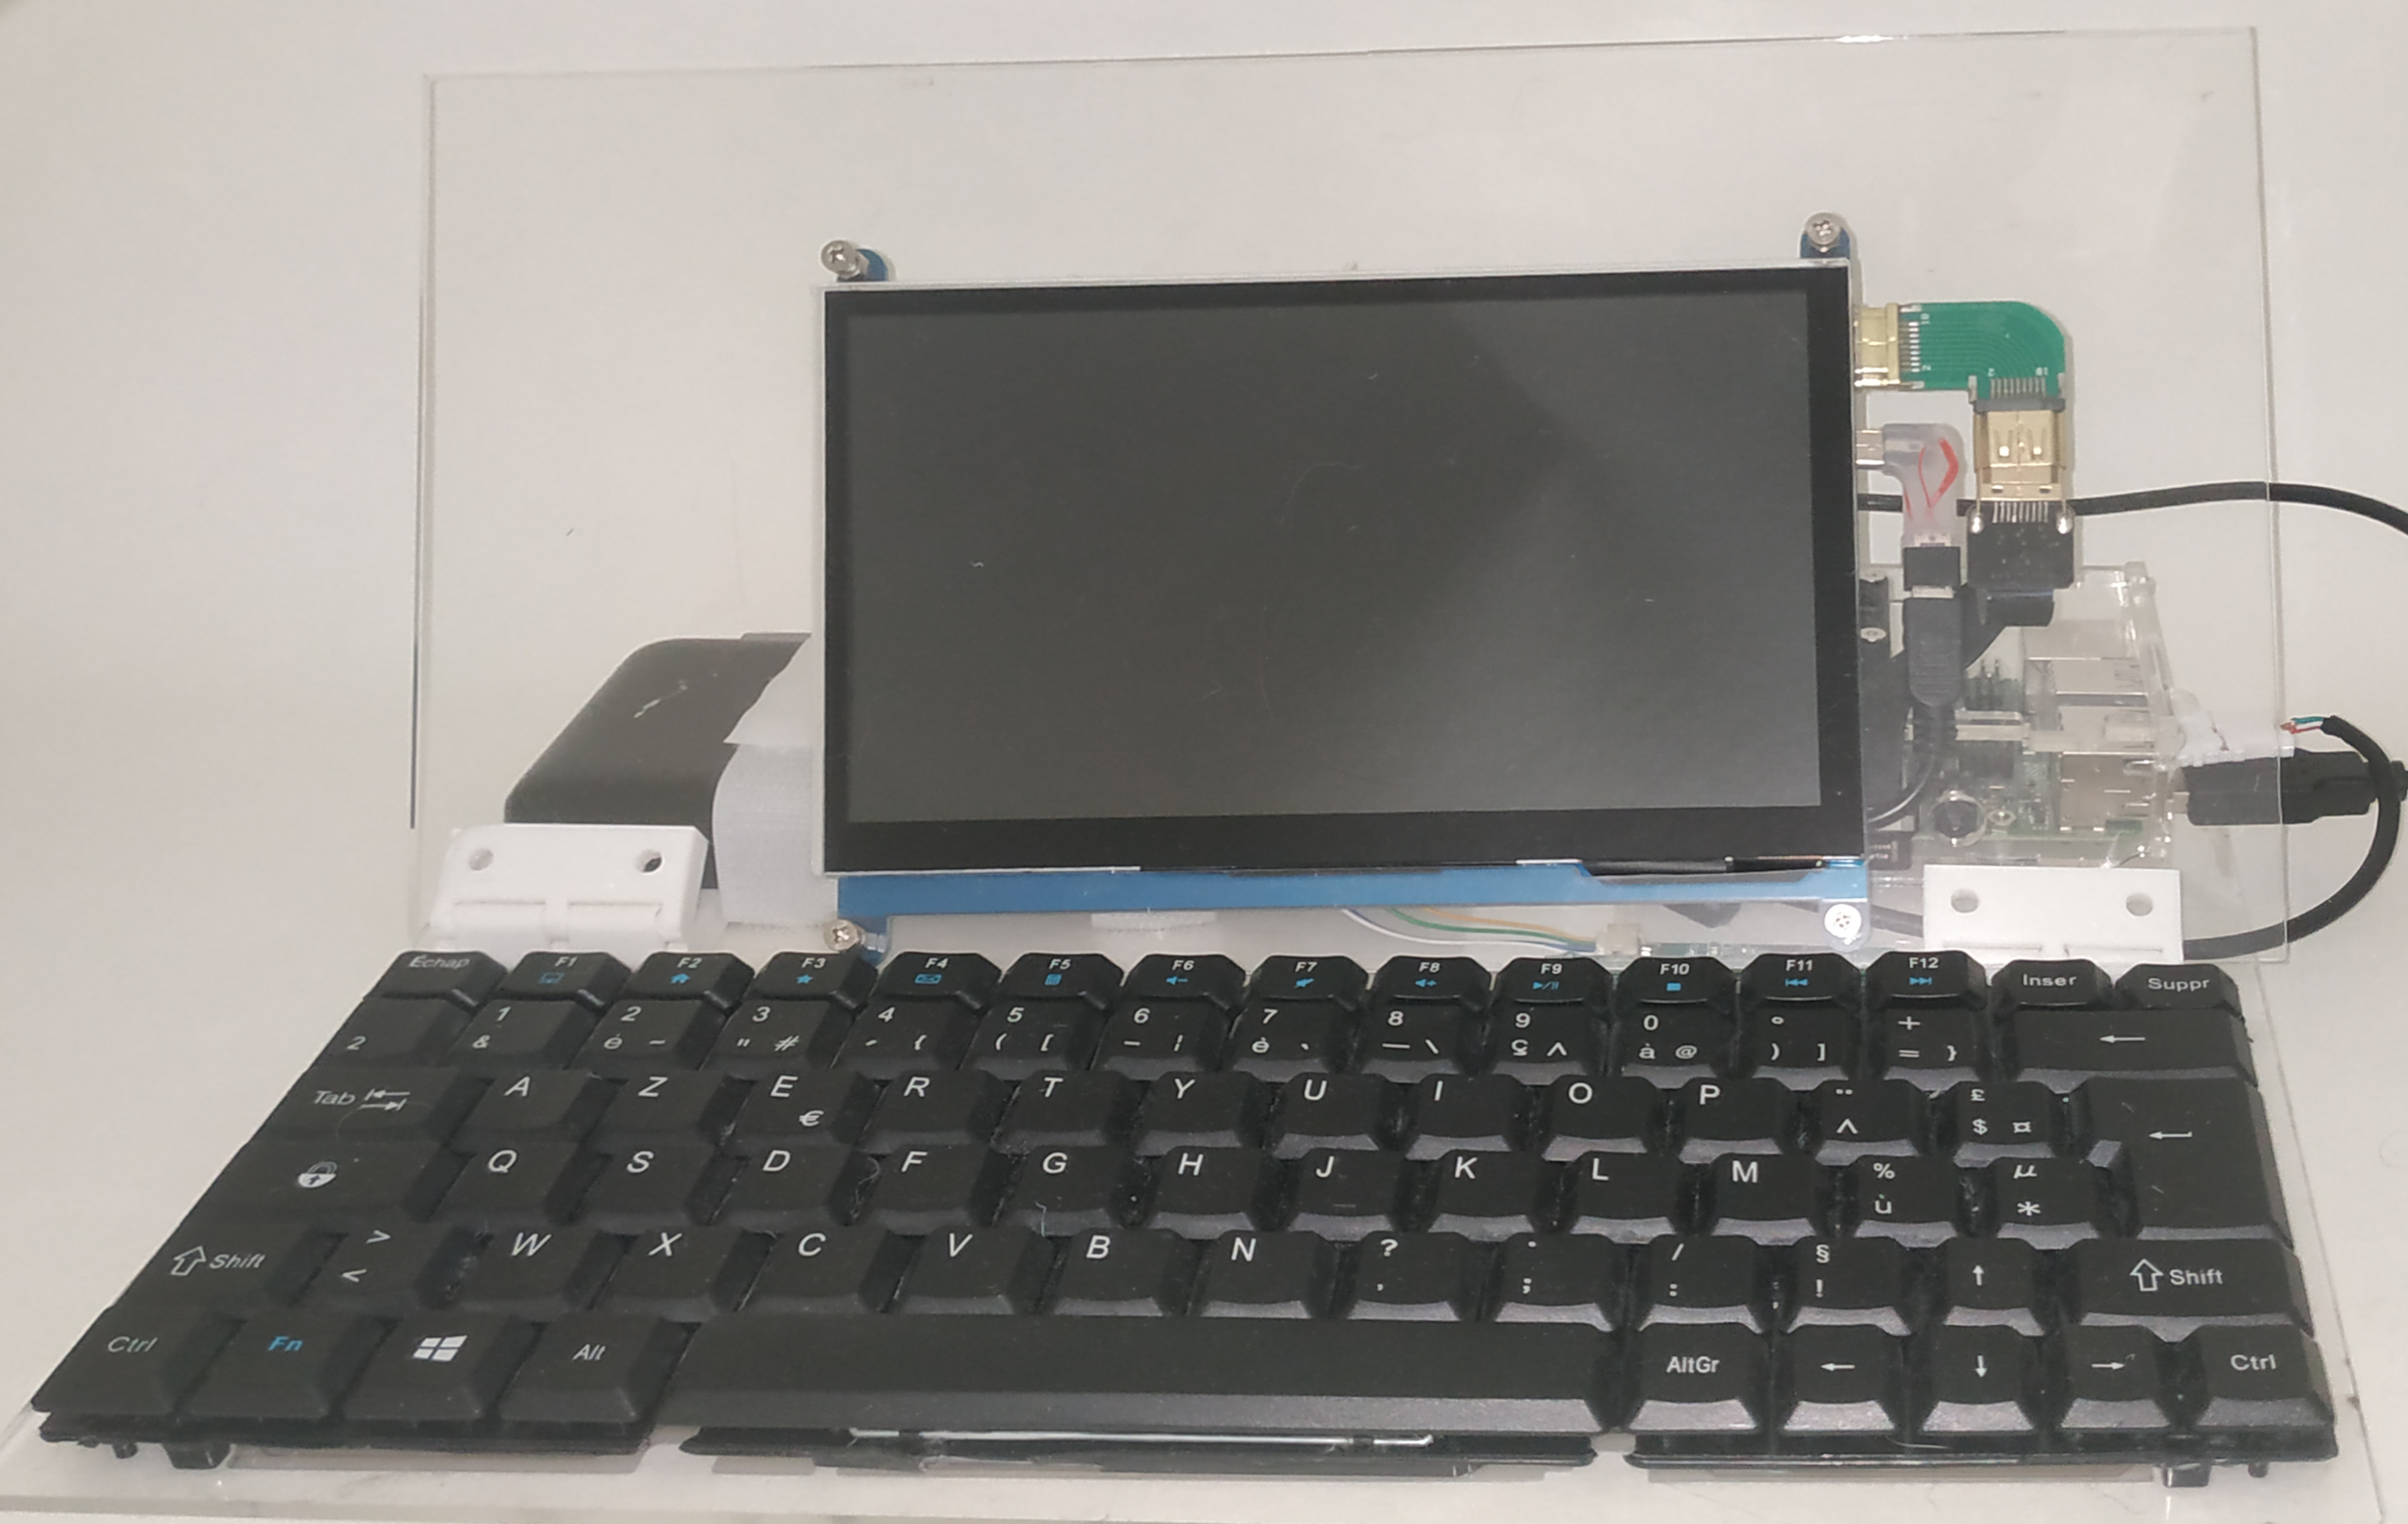
Here are a few pictures of the second version of the cyberdeck. The attentive reader will notice that the plexiglass plate of the screen is not attached to the base plate because hinges are incorrectly sized.
Cyberdeck second version images
More images are available in the repository https://github.com/Its-Just-Nans/cyberdeck !
Footnotes
-
Credit to all images are in the repository https://github.com/Its-Just-Nans/cyberdeck/blob/main/inspiration/README.md ↩

